Christmas Air Dry Clay Ideas: Easy & Cute DIY Ornaments
This post may contain affiliate links. Please read our Disclosure Policy.
Air dry clay ideas are the perfect way to add a handmade touch to your Christmas decorations! This versatile, affordable material is easy to work with and ideal for creating ornaments that are both fun to make and beautiful to display. Whether you’re looking for a simple family craft or a creative project to challenge your skills, air-dry clay creating is a must-try. In this post, I’ll share easy and cute DIY ideas for beginners and seasoned crafters, so you can bring charm and creativity to your holiday decor.
This post may contain affiliate links. For more information, please see our disclosure policy.

At our house, crafting is one of our favorite ways to get into the holiday spirit. Leading up to Christmas, we love finding unique ways to create personalized ornaments. If you’re a fellow DIY enthusiast, you’ll love these easy and cute Christmas air dry clay ornament ideas. Whether you’re looking for a simple craft project or a fun activity to do with the family, this project has you covered. For more inspiration, check out some of our other holiday projects, like our DIY Glass Photo Ornament Tutorial, Handmade Bottle Brush Trees, and Gingerbread House Christmas Wood Ornaments. Let’s dive into these charming clay ornament ideas to make your Christmas even more magical!
Table of contents
- What to Make Out of Air Dry Clay for Christmas
- Top Air Dry Clay Picks for Crafting
- Cute Things to Make Out of Clay
- Clay Ornaments for the Christmas Tree: Creative Air Dry Clay Ideas
- Tips For Painting And Decorating The Clay Creations
- Air Dry Clay Crafting Tips for Beginners
- Working With Air Dry Clay: FAQs

What to Make Out of Air Dry Clay for Christmas
Air dry clay offers endless possibilities for crafting beautiful and personalized Christmas decorations. Here are some creative ideas:
- Ornaments: Make custom ornaments using cookie cutters or hand-shaped imprints.
- Gift Tags: Create unique, clay gift tags to personalize presents.
- Candle Holders: Craft small, festive candle holders for a cozy atmosphere.
- Miniature Trees: Form adorable miniature Christmas trees to decorate your home.
- Garlands: String together clay shapes to create a charming holiday garland.
- Nativity Figurines: Sculpt miniature nativity scenes to add a special touch to your decor.
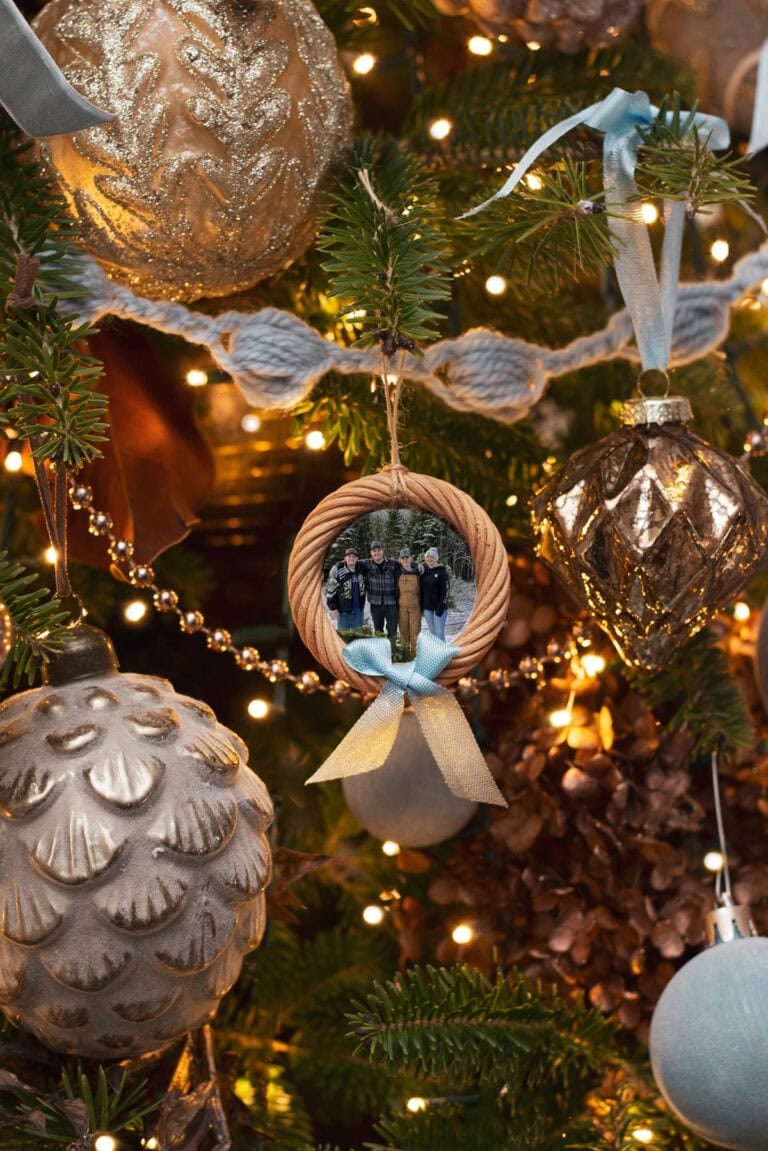
- Personalized Ornaments: Personalize ornaments with names, dates, or special messages, even ornaments that depict the people in the family.
- Pet Paw Imprints: Capture your pet’s paw prints as a sweet keepsake.
- Kids’ Handprints: Create lasting memories by molding your child’s handprints in clay.
- Gingerbread Men or Houses: Craft cute gingerbread man ornaments for a fun, festive look.

Top Air Dry Clay Picks for Crafting
- Best value– Crayola White Air Dry Clay
- Best for gingerbread houses- Crayola Terra Cotta Clay
- Best white clay for experienced crafters- Sculpty Air Dry Clay
- Best Colored Air Dry Clay- Sculpty Multi Colored Pack
Cute Things to Make Out of Clay
Air dry clay crafts are perfect for creating cute and charming decorations that can fit any holiday theme. When crafting, consider choosing a playful color scheme—pastel shades work wonderfully for a child’s Christmas tree, adding a whimsical and age-appropriate touch. For simple projects, try making flat shapes like ornaments, snowmen, gift tags or fridge magnets by using cookie cutters or stencils. If you’re an advanced crafter, challenge yourself by shaping 3D designs like a clay mushroom decoration, trinket dishes, DIY mini succulent planters or unique air dry clay napkin rings to add a sophisticated touch to your decor. The possibilities are endless, and with a bit of creativity, you can craft delightful pieces that make great gifts or festive additions to your home!

Clay Ornaments for the Christmas Tree: Creative Air Dry Clay Ideas
Creating air dry clay projects for the Christmas tree is such a fun and rewarding activity, especially when you get the kids involved! You can challenge older kids or teens to get more intricate with their designs, while the little ones can enjoy making simple, but cute ornaments. The possibilities are endless – from cozy sweater shapes to gingerbread houses and handprint Santas. Adding extra details like glitter, ribbons, or hand-painted patterns makes each ornament unique and special. Plus, these handmade ornaments will not only bring a lovely touch to your tree but also become treasured keepsakes for years to come.


Tips For Painting And Decorating The Clay Creations
- Use the Right Paints: Acrylic paint is a reliable choice for vibrant colors, but for a pottery-like glazed finish, try using nail polish. It’s a great way to repurpose old nail polish for your air dry clay ideas! While it might have a strong smell during application, the glossy result is worth it.
- Add Dimensional Details: Enhance your clay designs by attaching ribbons, bells, or bows using a hot glue gun for a polished and festive touch.
- Add Sparkle with Glitter Nail Polish: Apply a layer of glitter nail polish over your painted clay creations for a glossy finish with extra shimmer and holiday magic.
- Use Stamps or Molds: Create intricate patterns or effortless shapes by pressing stamps or using molds on the clay before it dries.

Air Dry Clay Crafting Tips for Beginners
For detailed instructions on how to make clay ornaments, be sure to check out this helpful guide. Starting your air dry clay crafting journey doesn’t require fancy tools—everything I used to make my ornaments was already in my kitchen or crafting stash! A rolling pin, butter knife, paring knife, and even nail polish came in handy.

- Keep It Clean: Roll your clay between sheets of plastic wrap or parchment paper to avoid sticking and keep your rolling pin and work surface clean.
- Make Hanging Easy: Use the end of a paintbrush to create a generous hole for hanging—this prevents it from closing up as the clay dries.
- Patience is Key: Don’t stack your ornaments until they are fully cured to avoid smudging or distortion.

Working With Air Dry Clay: FAQs
Air dry clay typically takes between 24 to 72 hours to fully dry, depending on the thickness of your creation and the surrounding humidity. Thin pieces, like the ornaments shown in this post, often dry faster, with a drying time of around 24 hours. To speed up the process and ensure even drying, I like to place my projects on a piece of parchment paper atop a cooling rack. This setup allows air to circulate around the clay, reducing the chance of warping.
While air-dry clay is designed to cure naturally without heat, baking it in the oven is sometimes an option for speeding up the process. However, manufacturers typically don’t recommend baking it, as excessive heat can lead to cracking, warping, or uneven drying. That said, if you’re careful, you can successfully bake air-dry clay for specific projects.
How to Bake Air-Dry Clay:
Preheat your oven to 200°F (93°C).
Line a baking sheet with parchment paper to prevent sticking.
Place your clay pieces on the sheet and bake for 20 minutes, flipping them halfway through for even drying.
The clay is ready when it develops a chalky appearance and feels firm to the touch.
Yes, you absolutely can bake air-dry clay in an air fryer! This method is especially handy for small projects or when you want to speed up the drying process. By using the dehydrator setting, you can gently cure the clay without overheating or causing cracks.
How to Bake Air-Dry Clay in the Air Fryer:
-Set your air fryer to 175°F on the dehydrate setting.
-Use parchment paper or a silicone mat in the air fryer basket, place your air-dry clay pieces \, ensuring they have enough space for airflow.
-Bake for 2 hours, flipping the pieces at the 1-hour mark for even drying.
-Once done, transfer the clay to a cooling rack and allow it to finish curing.
This method is a fantastic alternative for drying air-dry clay, especially for smaller projects that need a quick turnaround!

Incorporating air-dry clay into your Christmas crafts is a fun and rewarding way to create unique holiday decorations. It’s easy to work with, budget-friendly, and offers endless opportunities for personalization. So why not give it a try? From ornaments to gift tags, the possibilities are endless!
I’d love to see your creations or hear about your experiences with air-dry clay projects. Share your masterpieces or any questions you have in the comments below and join the festive crafting conversation!


These DIY ornaments are adorable and so achievable! I love how they add a personal and creative touch to holiday decorating.
Thank you Addison! We love coming up with new ideas and shapes to create! cookie cutters are a big help!