Personalized Easter Photo Ornaments: Bunny Craft for Kids
This post may contain affiliate links. Please read our Disclosure Policy.
There’s something special about decorating for Easter with personal touches that celebrate your family. This year, I’m excited to share one of my favorite Easter crafts – personalized photo ornaments that transform your loved ones’ faces into adorable little bunnies! These charming easter ornaments are incredibly cute and versatile, working perfectly on an Easter tree, as basket fillers, gift tags, or even as part of your Easter brunch table setting.

Why You’ll Love These Photo Ornaments for Easter
As a DIY enthusiast, I’m always looking for crafts that combine sentimentality with holiday cheer. These photo ornaments tick all the boxes – they’re inexpensive to make, simple enough for a family crafting session, and create decorations you’ll cherish for years to come.
If you’re looking for more Easter crafting ideas, be sure to check out my fun and easy bunny crafts for kids or my wooden spoon Easter bunny tutorial. Both make perfect companion projects to these photo ornaments!
Materials You’ll Need
- Small wooden disk ornaments (available at dollar stores)
- Photos of family members or pets
- White and pink felt
- Pink pom-poms
- Glue stick
- Hot glue gun
- Scissors
- Twine or ribbon
- Optional: electronic cutting machine
Step-by-Step Instructions
1. Prepare Your Photos
The key to these ornaments is getting the right-sized photos. I’ve found that 2-inch circles work perfectly with standard wooden disk ornaments from the dollar store, but you should measure your disks to be sure.
Pro tip: Create a template in Canva with 2-inch circles, then arrange your photos to fit within these circles before printing. This saves time and gives you perfect sizing every time! I printed a sheet with 2″ faces on white cardstock.
If you have an electronic cutting machine like a Cricut or Silhouette, you can use it to cut perfect circles from your printed photos. Otherwise, simply trace around the wooden disk on your photos and cut them out with scissors.

2. Attach Photos to Wooden Disks
Apply a thin layer of glue stick to the front of the wooden disk. Center your photo circle on the disk and press firmly. Allow to dry completely before moving on to the next step.

3. Create Bunny Ears
Cut oval shapes from white felt – approximately 2 inches long for a 2-inch disk. Then cut smaller ovals from pink felt for the inner ears. Glue the pink ovals onto the white ovals using craft glue or a glue stick.
Bunny Ears Tip: Making the ears slightly different heights and at slightly different angles gives your bunnies more personality!

4. Attach the Ears
With adult supervision, use a hot glue gun to attach the bunny ears to the back of the wooden disk. Position them so they peek up over the top of the photo. Allow the glue to cool completely before handling.

5. Add the Final Touches
Glue a small pink pom-pom to the photo where the nose would be. This instantly transforms your family photos into Easter bunnies!
If your wooden disks don’t already have string attached, add a piece of twine or ribbon through the hole at the top for hanging.

Creative Ways to Display Your Easter Photo Ornaments
Once you’ve created your adorable bunny photo ornaments, here are some of my favorite ways to use them:
Create an Easter Tree
Follow the Scandinavian tradition of an Easter tree (påskris) by arranging branches in a vase and decorating them with your photo ornaments alongside colorful egg ornaments. This makes a stunning centerpiece for your Easter tabletop or a delightful decoration for your entryway or mantel.
The bright yellow flowers of forsythia or witch hazel branches pair beautifully with Easter decorations and bring the colors of spring indoors. I love how the yellow blooms complement the pastel colors of traditional Easter eggs. Of course, forsythia is not in bloom yet in my area, so I hot-glued dollar-store flowers plucked from a faux stem to branches for my Easter tree. You could also learn how to force Forsythia flowers to bloom to use in your spring decor.

Personalize Easter Baskets
Attach an ornament to each Easter basket as a name tag – it’s both practical and adorable! After the holiday, they can keep their personalized bunny as a keepsake or use it year after year.
Decorate Your Easter Brunch Table
Use these ornaments as place settings for your Easter celebration. They make charming conversation starters and thoughtful take-home gifts for your guests. Check out more Easter Brunch table decorating ideas in this post.

Alternative Display Ideas For Your Easter Ornaments
- Glue ornaments to wooden BBQ skewers and place them in small potted plants or floral arrangements
- Use them as gift tags on Easter presents
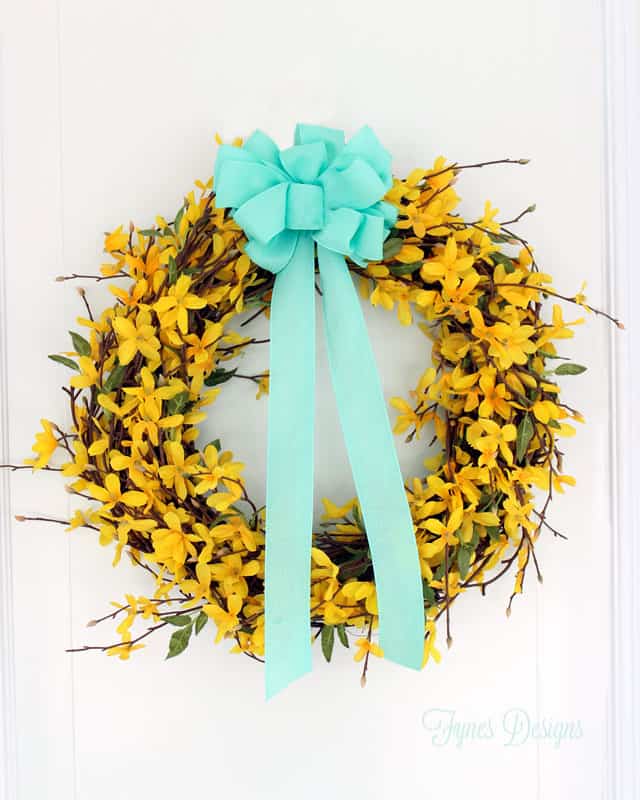
- Hang them from a wreath on your front door
- Create a garland by stringing multiple ornaments together
Make It Your Own
The beauty of these ornaments is how customizable they are. Here are some fun variations:
- Use different colors for the felt on the ears (lavender, baby blue, minty green or yellow for a spring theme)
- Add glitter to the edges of the wooden disks
- Use different sized wooden disks for variety
- Include pets in your photo collection – they make adorable Easter bunnies too!
If you’re looking for more Easter decoration ideas, my Easter chick spring wreath tutorial is another wonderful project that complements these bunny ornaments perfectly.

Why Make Handmade Easter Decorations
In our digital age, there’s something so special about creating tangible, handmade decorations that celebrate our loved ones. These photo ornaments become cherished keepsakes that capture a moment in time – perfect for marking a baby’s first Easter or continuing a family tradition year after year.
And let’s not forget how much fun it is to craft together! This project is simple enough that kids can help (with supervision for the hot glue parts). This Easter Bunny craft for kids doesn’t take many supplies or even a make mess, making it a wonderful family activity during your spring celebrations or Easter weekend.
FAQs
Easter decorations can range from subtle to showstopping! Start with a beautiful Easter wreath on your front door. Inside, focus on your dining table with a centerpiece of spring flowers, Easter eggs, and bunny figurines. An Easter tree decorated with egg ornaments and these photo bunny ornaments make a wonderful focal point. Don’t forget to incorporate spring colors throughout your home with pastel throw pillows, fresh flowers like tulips and daffodils, and small touches like ceramic bunnies or Easter baskets placed strategically throughout your space. Check out these wreaths for inspiration: How To Make A Flower Wreath, Bunny Wreath Tutorial, and Easter Chick Wreath Tutorial.
Handmade gifts add a personal touch to Easter celebrations. Besides these photo ornaments, consider creating decorated Easter eggs using different techniques (hand-painted, decoupage, or dyed), assembling Easter-themed gift baskets filled with homemade treats and small toys, or crafting Easter-themed candles or soaps. For food gifts, homemade chocolate eggs, Easter cookies, or traditional hot cross buns are always appreciated. Personalized items like hand-embroidered Easter napkins or custom Easter cards are thoughtful touches that show you care.
The Easter tree tradition has roots in Germany and Scandinavian countries, where it’s known as “påskris.” Historically, it represents the rebirth and renewal of spring. Branches, often pussy willows or forsythia, symbolize new life as they begin to bloom. Decorating these branches with eggs (symbols of fertility and new beginnings) and other spring motifs celebrates the season’s renewal. While not as common as Christmas trees in North America, Easter trees have gained popularity as a beautiful way to display Easter ornaments and bring spring indoors. Adding family photos to the tree creates a meaningful connection between the season’s themes of renewal and your family’s continuing story.
Easter is perfect for crafting! Beyond these photo ornaments, try making an egg carton Easter bunny with the kids, creating Easter wreaths with spring flowers, or making bunny-shaped treat bags for Easter egg hunts. Other popular Easter crafts include decorated Easter eggs (try natural dyes for an eco-friendly option), handmade Easter baskets, Easter-themed garlands, table runners, or Easter bonnets. For kids, simple crafts like paper plate Easter bunnies, cotton ball lambs, or fingerprint Easter chicks are entertaining and age-appropriate. The key is choosing projects that match your skill level and the time you have available.
For more craft ideas check out my ‘Easter’ Pinterest board.

Make This Easter Extra Special
These personalized Easter photo ornaments combine the joy of Easter decorating with the sentiment of family photos. They’re quick to make, budget-friendly, and bring such a personal touch to your Easter celebrations.
I’d love to see your creations if you try this project, share your photos in the comments below or tag me on social media.
Happy Easter crafting!


This craft is absolutely adorable and perfect for making memories with little ones! I love the mix of creativity and personalization it’s a keepsake to treasure.
The kids have really loved this craft! Really a great upcycle for any time of the year!