Fabric Pumpkins DIY No Sew – Easy Fall Craft Tutorial
This post may contain affiliate links. Please read our Disclosure Policy.
Fall is one of my favorite times of the year to craft. I love making decorations that are both budget-friendly and adorable, and these fabric pumpkins DIY no sew are exactly that. They’re simple enough for beginners, fun to make with kids, and the kind of project you can create with supplies you probably already have on hand. Plus, they look just as sweet styled on your Thanksgiving table as they do on your porch for Halloween.

If you’re in the mood for even more cozy fall decorating ideas, you might also enjoy my Fall Wreath Tutorial with Flowers, Golden Pumpkins, Acorns, and Leaves. Seeking ways to style your entire home? Don’t miss my guide to Cozy Home Decor Ideas to Warm Up Your Space for Fall and these Budget-Friendly Fall Porch Decorating Tips. These little pumpkins tie in perfectly with all those seasonal touches!
Supplies You’ll Need for DIY Fabric Pumpkins
- A balloon (any size, depending on how big you’d like your pumpkin)
- Flour and water paste (equal parts, e.g. 1 cup flour + 1 cup water)
- Flyers or newspaper, ripped into strips
- A piece of fabric (cotton, broadcloth, or any kind of fabric you have in your scrap pile works well)
- Hot glue gun
- A small tree branch (for the stem)
Tip: Craft stores always have great fabric remnants on sale, or you can raid your stash of scrap fabric to make these pumpkins nearly free!
Watch this video to see how to make no-sew fabric pumpkins
Tutorial: How to Make Fabric Pumpkins DIY No Sew
- Create the base – Blow up a balloon to the desired size. This will be the form for your pumpkin.
- Paper-mâché – Mix one part flour and one part water to create a paste. Dip your strips of newspaper into the mixture and layer them around the balloon until it’s fully covered. Repeat to add at least 2–3 layers.
- Let it dry – Leave overnight until the surface feels firm, not tacky.
- Wrap with fabric – Cut a square of fabric large enough to meet in the center of the pumpkin. Hot glue each side toward the middle, then neatly fold and glue each corner toward the middle to create pleats and completely cover the papier-mache.
- Add the stem – Hot glue a small piece of branch to the top, pressing firmly so it holds in place.
And that’s it! You’ve got yourself an adorable fabric pumpkin with no sewing required.

Decorating Ideas for Your Fabric Pumpkins
These little pumpkins are so versatile! You can:
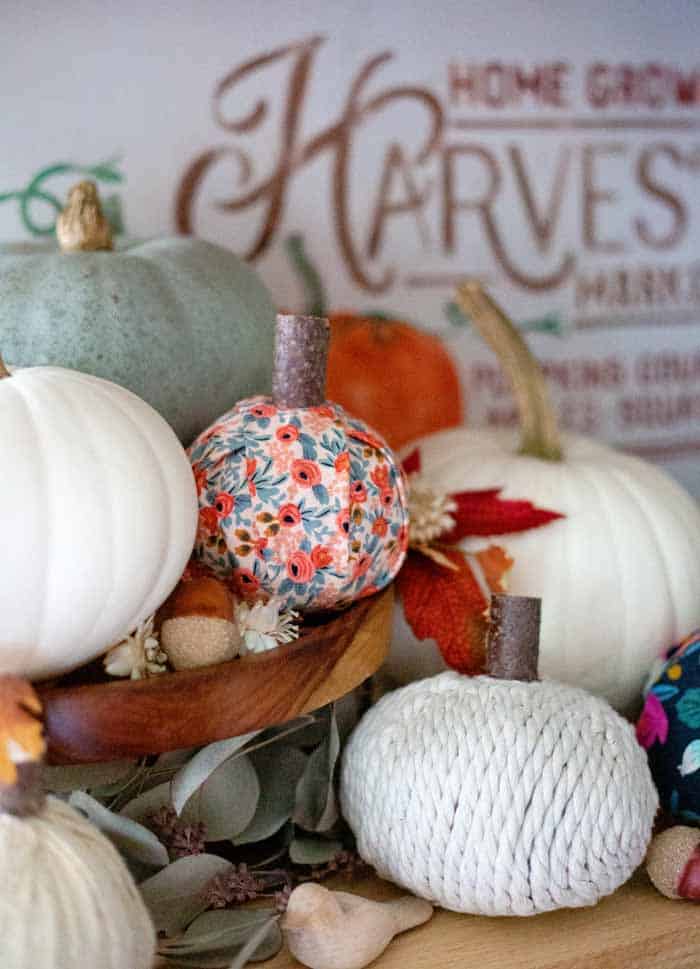
- Mix patterned fabric pumpkins with solid-colored ones for contrast.
- Use scrap fabric pumpkins as accents in a centrepiece or along a mantle.
- Incorporate them with real squash and gourds for a natural look.
- Style them for Halloween with darker prints, then keep them out through Thanksgiving with cozy neutrals.

Whether you make one cute pumpkin or a whole family of them, they’ll quickly become one of your favourite fall crafts to reuse year after year.

I love these sweet version from Flamingo Toes are my absolute favourite fall pumpkins.
FAQs About No-Sew Fabric Pumpkins
Instead of broadcloth or cotton, cut felt into a large circle. Gather it around polyester stuffing or even a balled-up sock, then glue or tie it shut. Felt holds its shape well and is great for beginners.
Cut a square piece of fabric that’s large enough to meet in the middle when pulled from each corner to the centre of the pumpkin. For a neater look, round off the corners so pleats tuck smoothly.
Yes! If you’d like a more finished or glossy look, brush Mod Podge over the fabric once glued in place. It also helps protect your pumpkins if you’re styling them on a porch.

This fabric pumpkins DIY no sew tutorial is one of my go-to fall crafts because it’s affordable, beginner-friendly, and completely customizable. Whether you’re decorating for Halloween, Thanksgiving, or just want to add cozy seasonal touches, these adorable fabric pumpkins make the perfect little accent.
