DIY Keepsake Photo Ornaments: Easy Step-by-Step Gift Tutorial
This post may contain affiliate links. Please read our Disclosure Policy.
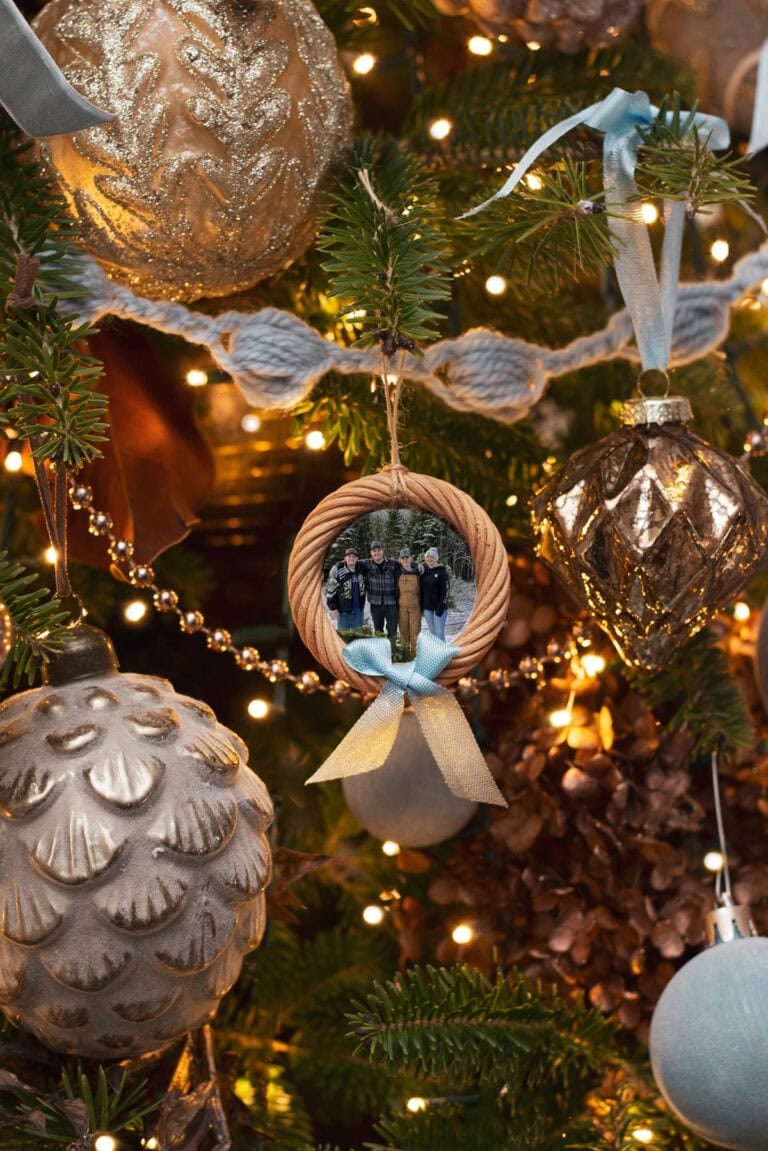
There’s nothing more special than unwrapping ornaments each Christmas, filled with memories from years past. These personalized Christmas tree decorations show you how to make ornaments with pictures, using old family photos to capture moments that make the holidays even more meaningful. They’re not only a wonderful tradition to create but also make a thoughtful gift for loved ones. Craft your own DIY photo ornaments and relive cherished memories year after year.

Creating meaningful handmade photo ornaments is one of my favorite ways to add a personal touch to holiday decor. These ornaments not only serve as cherished keepsakes but also make beautiful gifts for loved ones. Whether you’re preserving favorite family memories, showcasing special milestones, or simply adding a cozy, heartfelt element to your Christmas tree, crafting photo ornaments is such a rewarding holiday project. I’ve shared some of my favorite ideas in tutorials like my DIY Glass Photo Ornaments and Christmas Photo Ornament Craft. Let me show you how you can make your tree uniquely yours this season!
Watch this quick video tutorial to create a photo ornament easily
Table of contents
How Do I Turn a Picture Into An Ornament?
To turn a picture into an ornament, follow the easy step-by-step tutorial in this post. Use family photos, cork coasters, and a few simple supplies to create personalized Christmas tree decorations that capture cherished memories. This tutorial provides detailed instructions and a video tutorial to help you create your own DIY photo ornaments easily. Whether for yourself or as a thoughtful gift for loved ones, these keepsake photo ornaments will add a personal touch to your holiday decor.
The best part about these photo Christmas ornaments is that anyone, regardless of skill level can make them! No special tools are needed—just a few supplies from your local craft store. It’s a lot of fun for everyone!

This post may contain affiliate links. For more information, please see our disclosure policy.
Supplies to Make A DIY Photo Ornament
- Cork Coaster- Get them from Walmart, Amazon or IKEA
- Family Photos
- Scissors
- Hot Glue Gun
- Ribbon
- Double Sided Tape
- Decorations
- Drill (optional)

How to Make DIY Photo Ornaments
Step By Step Instructions:
Step 1: Prep The Coaster
Find a drinking glass that fits snugly inside the coaster, this will be the template for tracing the circle of the photo. Drill or poke two small holes on one side of the coaster for the hanging string.
Step 2: Prepare Photos
Print photos using a home inkjet printer or have them printed at a local print shop. Alternatively, measure the coaster’s bottom, create a photo template in Canva, and print it on cardstock.
TIP: An important tip to keep in mind when choosing photos for your ornaments is to use the glass as a guide to ensure the image fits perfectly within the coaster. Additionally, select clear and vibrant photos while considering how the colors will complement your decor. Furthermore, printing the images in black and white is a smart option, as it ensures the ornaments will always match, regardless of changing color trends.
Step 3: Cut Photos To Size
Use the drinking glass to trace a circle around the portion of the photo you want to include in the ornament. Carefully cut out the traced portion of the photo.
Step 4: Insert Photos Into The Coaster Bottom
Generously apply acid-free double-sided tape to the back of each photo.
Step 5: Personalize Your Photo Ornaments
Now it’s time to add your personal touch! Tie on a pretty bow, and for extra festive flair, use holiday picks to create a wreath around the edge of the cork coaster. You can make your ornament unique by adding glitter, holiday-themed scrapbooking stickers, or small trinkets. A playful idea is to give a child’s photo a reindeer nose for some extra fun! Get creative with different styles—add trinkets and bells for the kid at heart or go for glitz and glam, or traditional colors for rustic ornaments that suit any Christmas decor.

Hang On A Tree Or Give As A Gift
Bring those sweet photos off your phone and onto the tree! At just under $2 each to make, you can create one for everyone on your list. These ornaments make great gifts, and you can even give them double duty as gift tags featuring the recipient’s face. Moreover, they’ll not only add a personal touch to your presents but also become cherished keepsakes that can be enjoyed for years to come!

How to Preserve the Ornaments For Years To Come
To preserve the ornaments for years to come, it’s essential to ensure that the adhesive used is acid-free to prevent the photos from yellowing over time. Additionally, when storing the ornaments, consider wrapping them individually in tissue paper to protect them from damage and keep them looking as good as new for future holiday seasons.

FAQ
If you are looking to make a more advanced DIY glass photo ornament a great option is to check out my tutorial for DIY Glass Photo Ornaments, which offers a different approach to turning cherished memories into beautiful decorations. These DIY projects are perfect for adding a personal touch to your holiday decor and making lovely gifts for family and friends.
To keep your DIY picture ornaments looking beautiful for years, wrap each one individually with tissue paper, bubble wrap, or soft cloth to prevent scratches. Store them in sturdy containers with dividers, like ornament boxes or repurposed egg cartons, and label everything for easy organization. Keep the box in a temperature-controlled area, away from attics or basements, to avoid damage from extreme heat, cold, or humidity. With careful handling and proper storage, your cherished ornaments will stay intact and ready to display each holiday season.

Handmade ornaments with pictures are a meaningful way to celebrate the holidays and preserve cherished memories. Creating homemade photo ornaments adds a personal touch to your decor and makes thoughtful gifts for loved ones. With just a few simple materials and a bit of creativity, you can craft keepsakes that will be treasured for years to come. Whether hung on the tree or displayed around the house, these ornaments bring warmth and personality to the holiday season.


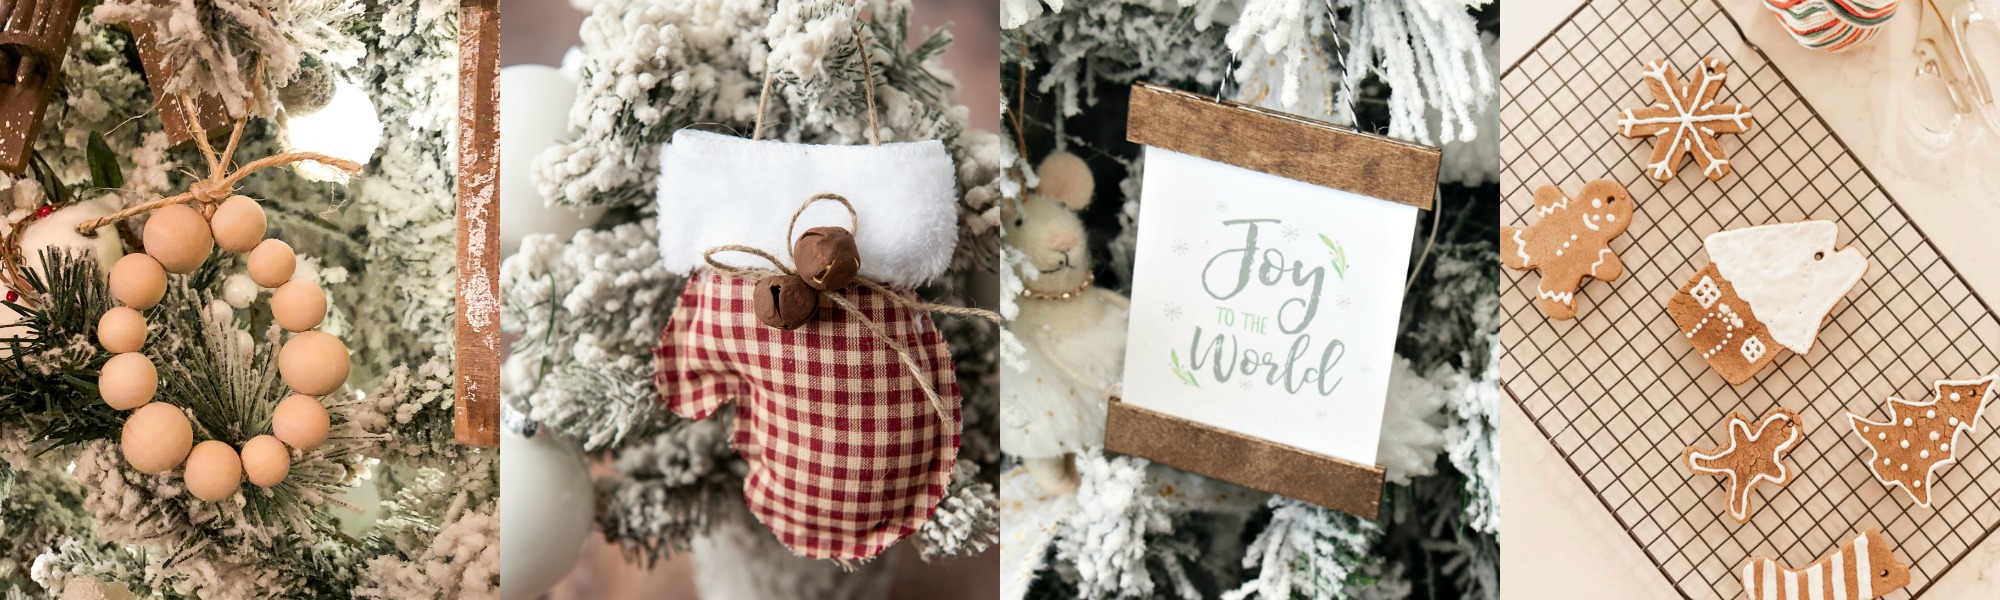
Simple DIY Wood Bead Ornaments at The Happy Housie
Rustic No-Sew Mitten Ornaments at Home Made Lovely
Easy DIY Christmas Ornaments at Clean & Scentsible
DIY Salt Dough Ornaments at Jennifer Maune
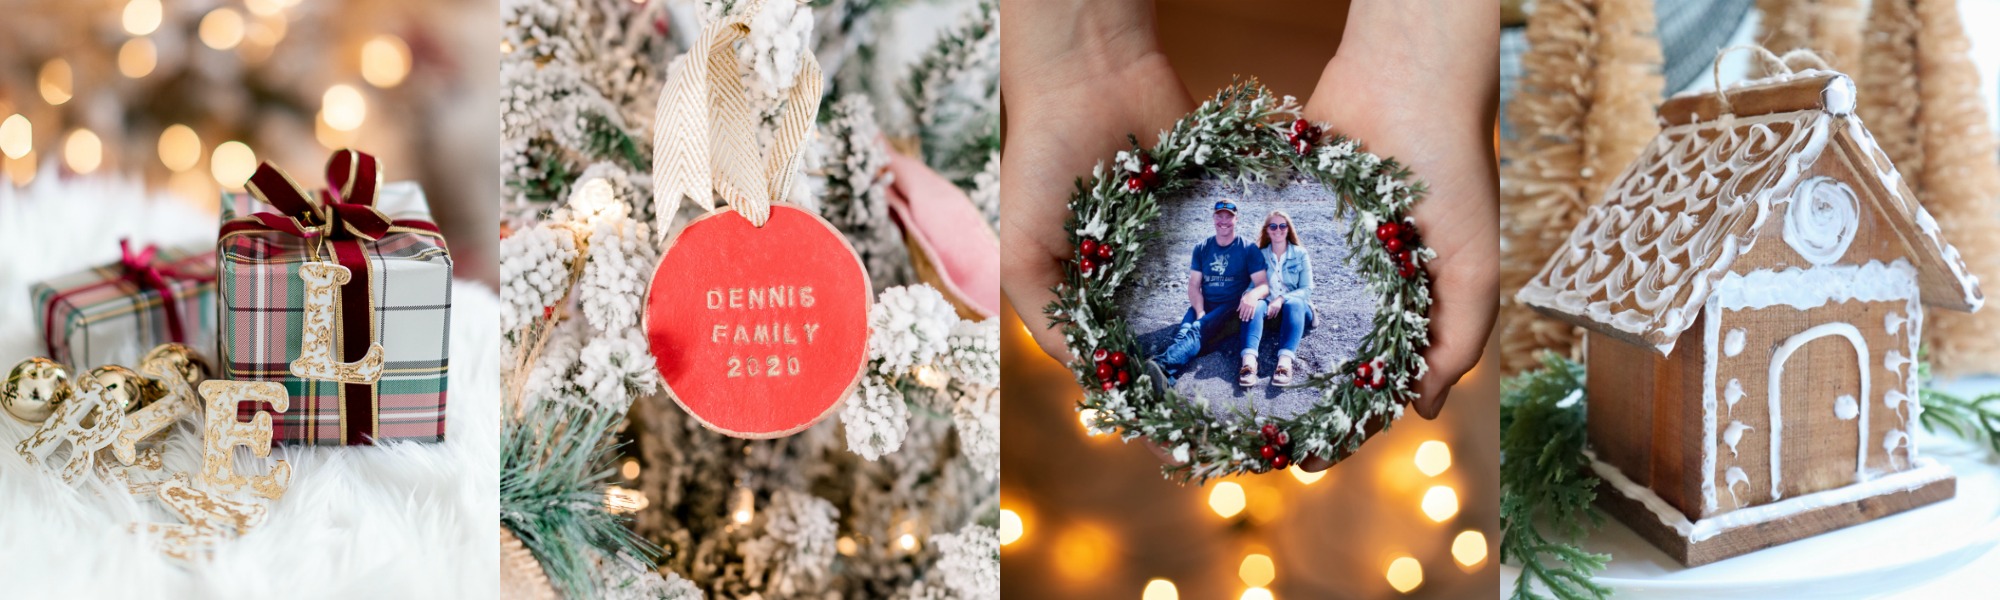
Anthropologie Inspired Vined Monogram Ornament at Craftberry Bush
DIY Stamped Christmas Ornament made with Clay at The DIY Mommy
Ikea Hack Keepsake Photo Ornament at Fynes Designs
How to Make a Gingerbread House Ornament at My Sweet Savannah
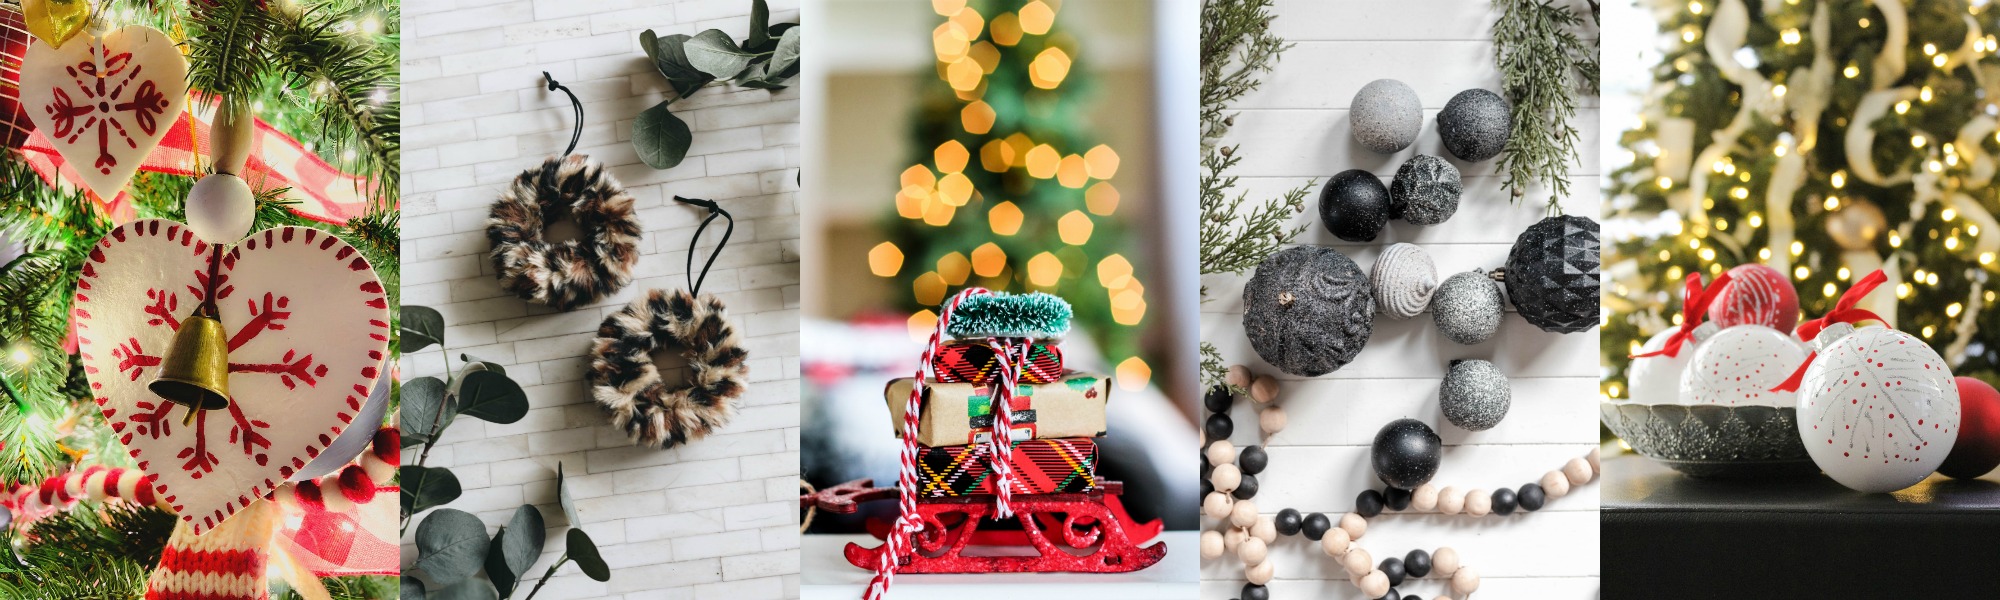
Baking Soda Scandinavian Painted Ornaments at Tatertots and Jello
DIY Leopard Print Christmas Ornaments at Love Create Celebrate
Easy DIY Christmas Sleigh Ornaments at A Pretty Life
DIY Stone Christmas Ornaments at Cherished Bliss
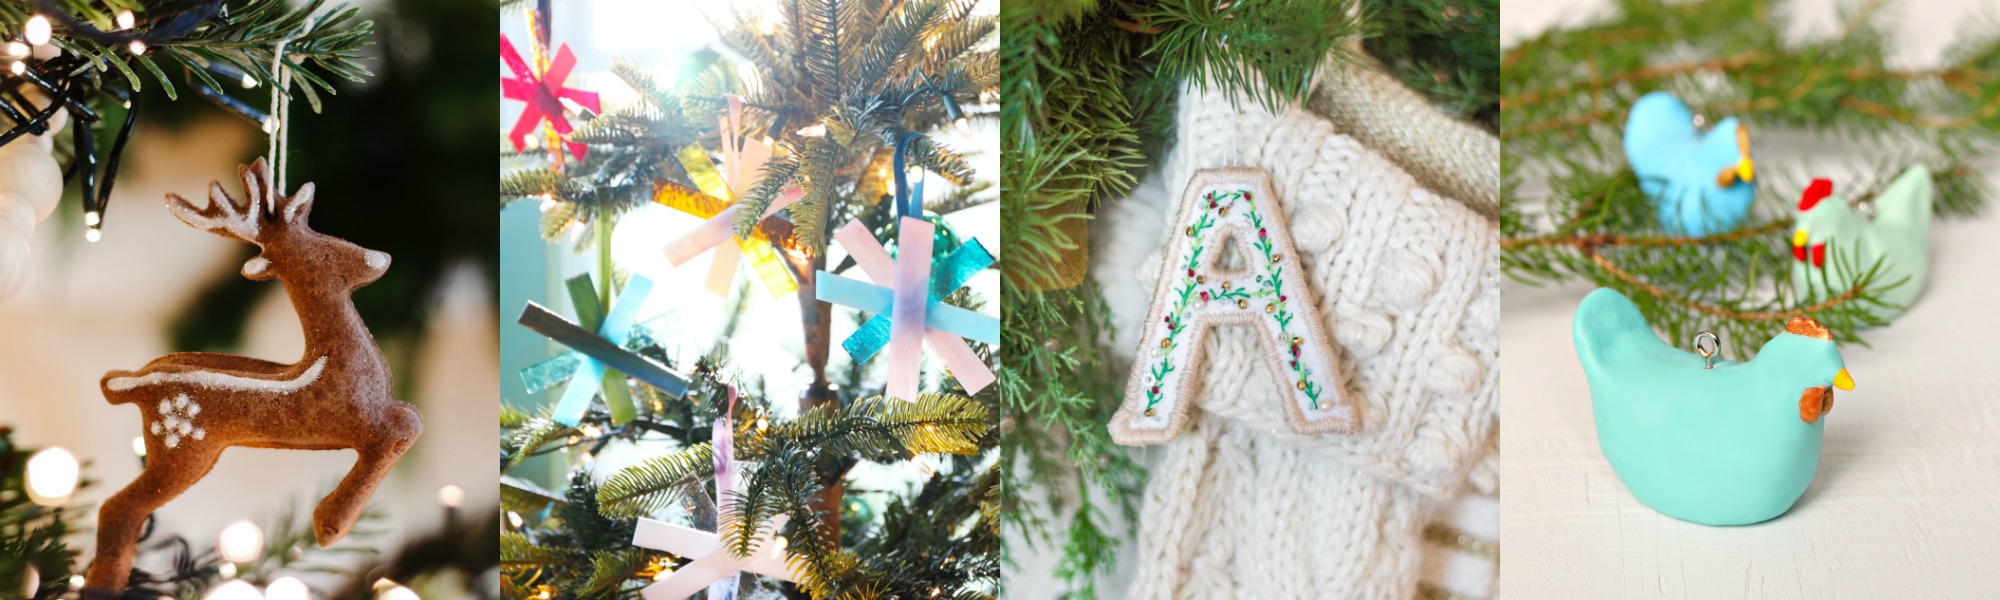
DIY Nordic Christmas Ornaments at This is Simplicite
Gingerbread Salt Dough Ornaments at Modern Glam
DIY Snowflake Ornaments at The Handmade Home
DIY Anthropologie Inspired Felt Letter Ornament at Zevy Joy
DIY Chicken Christmas Ornaments at Dans le Lakehouse
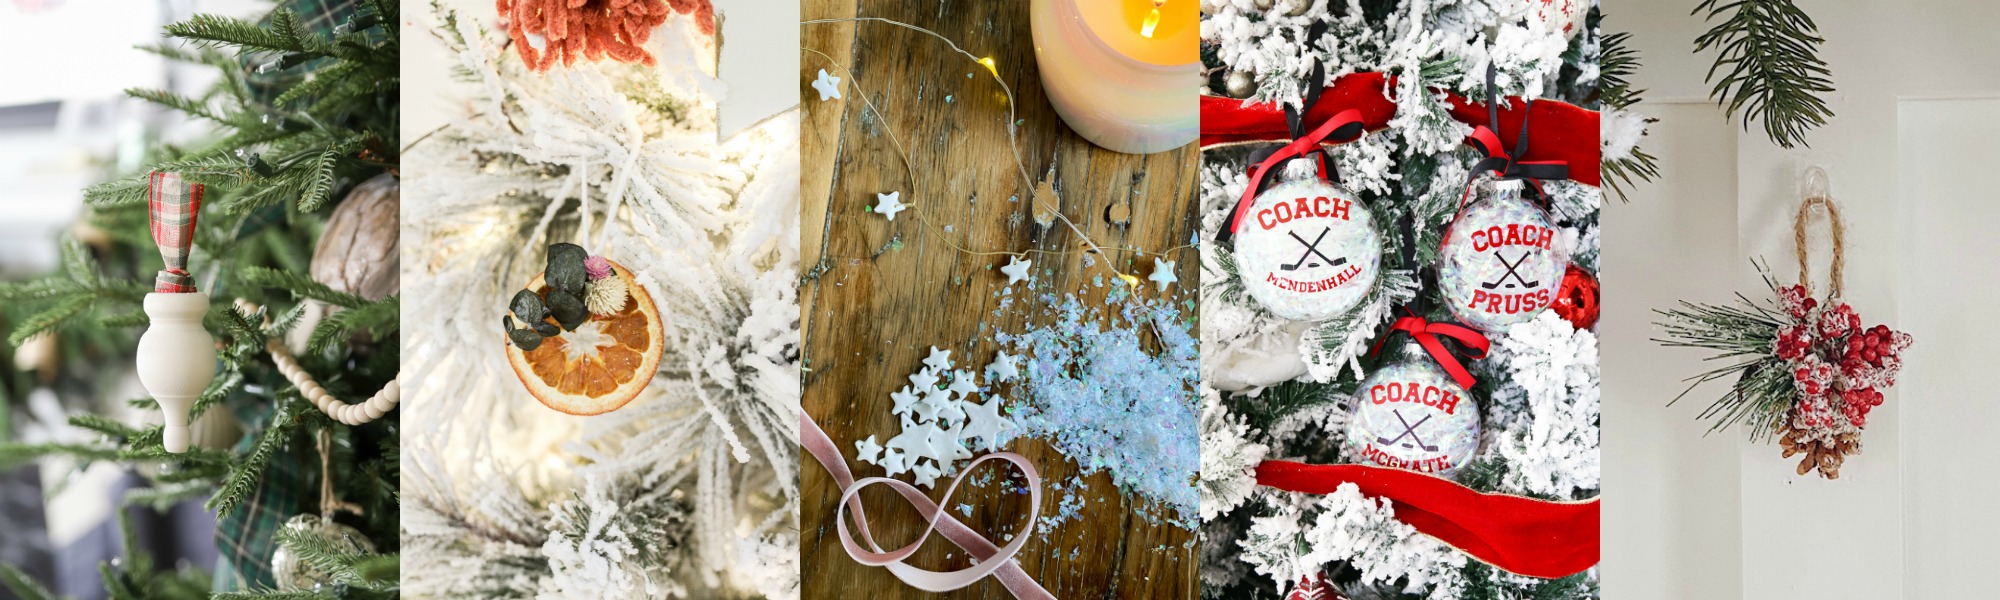
DIY Wood Finial Ornament at The Turquoise Home
Boho Orange Slice Ornament at Cassie Bustamante
DIY Star Garland at Life is a Party
Coach Gift Christmas Ornaments at Just a Girl & Her Blog
Upcycled Pine Cone Ornament at She Gave it a Go

Such a great idea Virginia! I wish I would have started this when my kids were babies!
these are so cute- i love the pom pom one!
I just love how nostalgic these are. Adorable.
What a beautiful idea! These really are something special to cherish for years to come.
Where did you find the lining for the fake pine leaves around the edges I have no idea where to find them!
Love these!
Pleazesign me up for any books or emails!