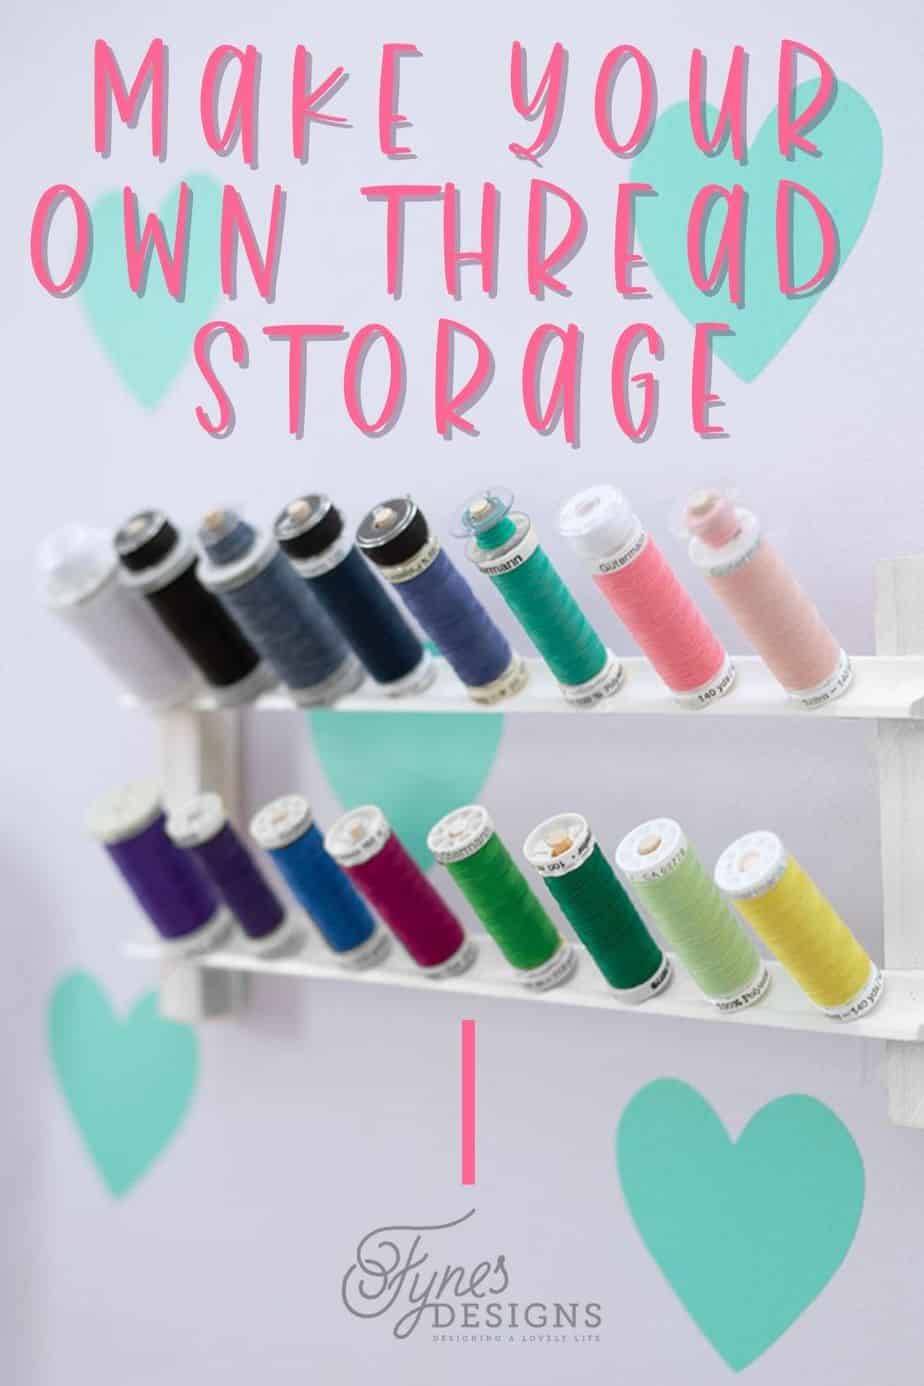
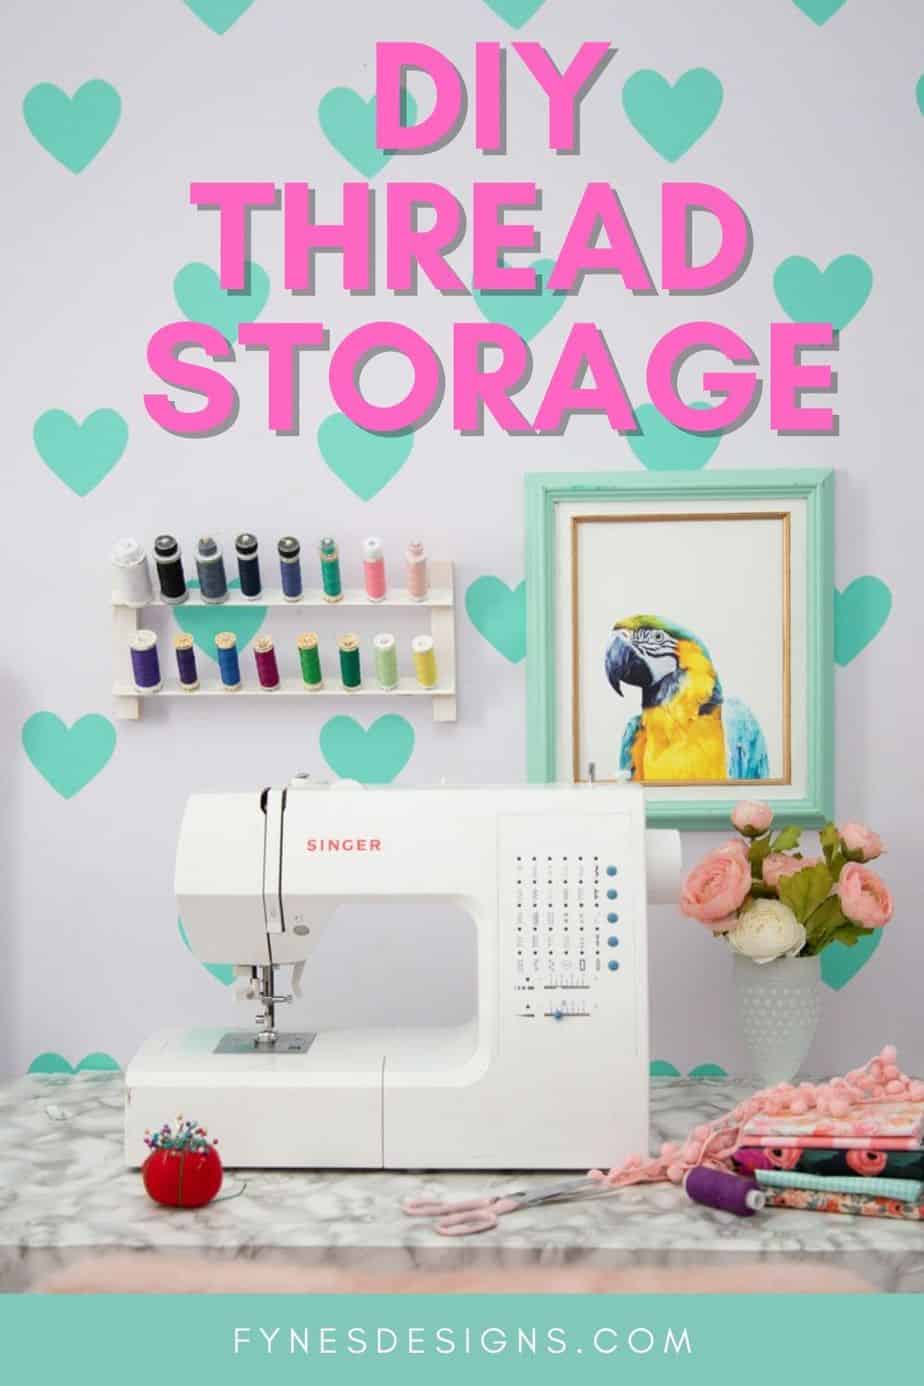
DIY Thread Holder: Make Your Own Sewing Thread Storage Rack
This post may contain affiliate links. Please read our Disclosure Policy.
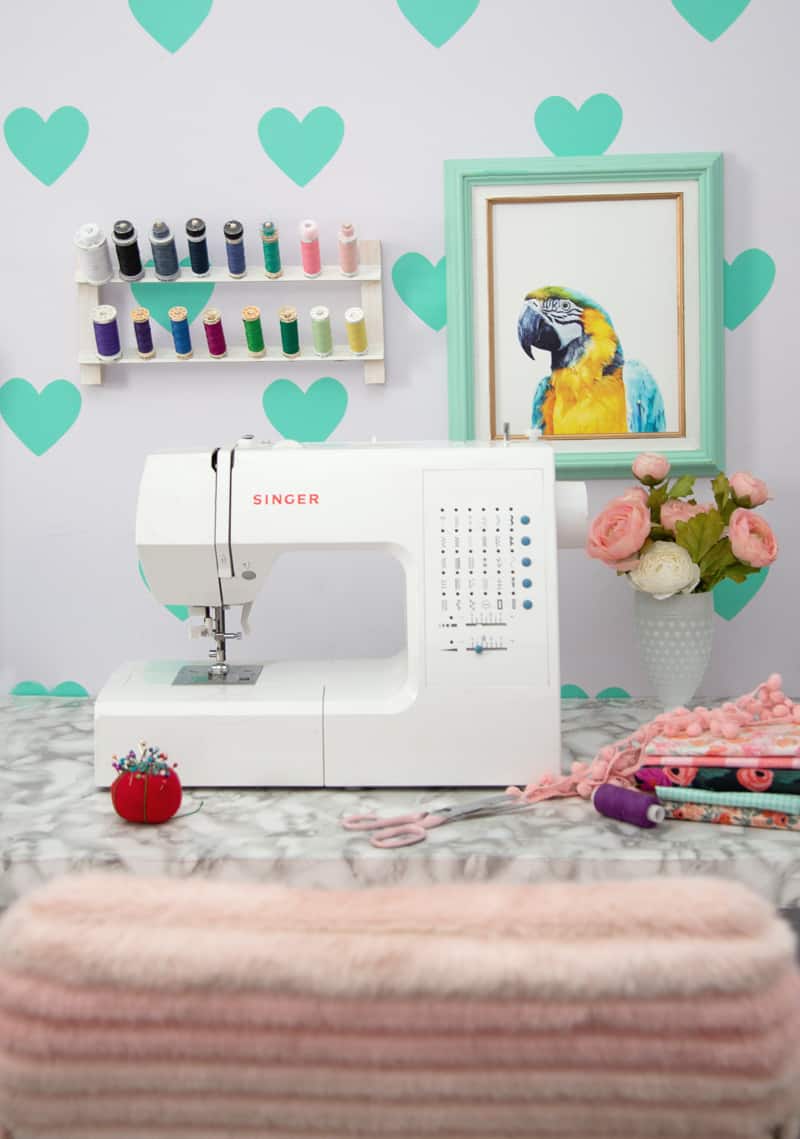
Are you tired of tangled thread spools and the frustration of hunting for the right color in your sewing space? A dedicated thread storage solution can transform your crafting experience, and making one yourself is both rewarding and budget-friendly. This comprehensive guide will walk you through creating a custom DIY thread holder that perfectly suits your sewing needs.
A DIY thread holder is just the beginning of your crafting journey! Once you’ve got your threads neatly displayed, you might be inspired to tackle some fun sewing projects like this step-by-step floor pillow tutorial for cozy seating or create a charming girl’s purse using our free pattern. For a quick project that takes just minutes, check out our popular 10-minute dish towel apron – perfect for protecting your clothes while you work on your next creation. With your new thread organization system, these projects will be even more enjoyable to complete!
What Is A Thread Holder?
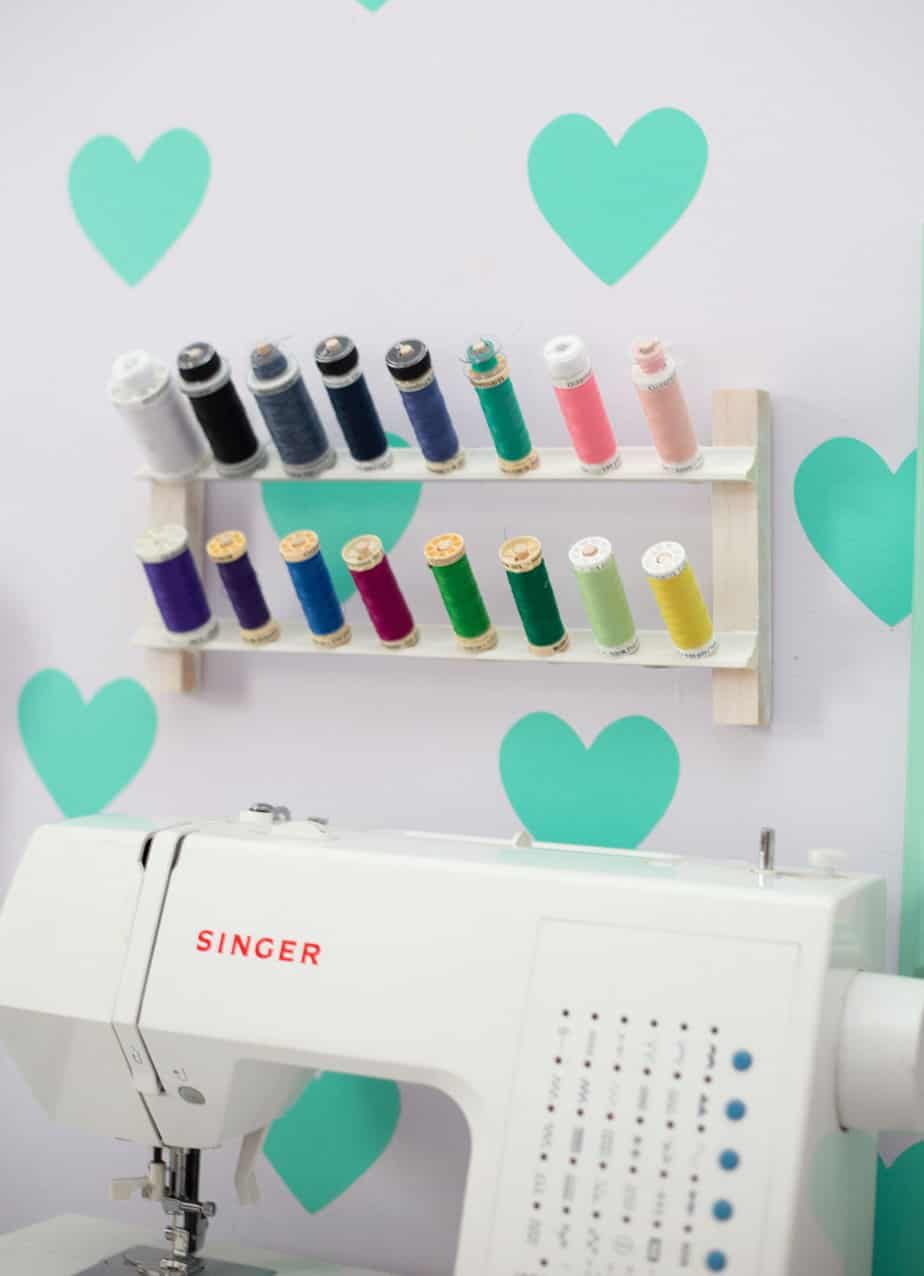
A thread holder (also called a thread rack, thread stand, or thread organizer) is a storage solution designed specifically to hold and organize sewing spools of thread. It keeps threads visible, and accessible and prevents tangling while protecting them from dust and damage.
Why You Need a DIY Thread Holder
Every sewing enthusiast knows the importance of an organized workspace. Thread spools scattered across your sewing table create visual chaos and slow down your creative process. A well-designed thread holder:
- Keeps all your threads visible at a glance
- Keeps thread handy to the sewing machine or serger when switching out the thread colors
- Prevents tangling and dust accumulation
- Makes color selection effortless
- Adds a decorative element to your craft space
Best of all, creating your thread rack costs significantly less than store-bought options while allowing you to customize the size, capacity, and style to match your specific needs.
Watch this video to learn how to make an easy thread storage solution
Benefits of Making Your Own Thread Holder
Cost-Effective Solution
Commercial thread racks can cost anywhere from $25 to over $100 depending on capacity and materials. Our DIY version typically costs under $15 for materials, saving you significant money while potentially holding more spools.
Custom Design
By making your own thread holder, you control every aspect of the design:
- Choose exact dimensions to fit your available wall space
- Determine spacing based on your specific thread spool sizes
- Select colors and finishes that complement your sewing area
Satisfaction of Creating
There’s something deeply satisfying about crafting a practical storage solution with your own hands. This beginner-friendly woodworking project requires minimal tools and gets you professional-looking results.

Supplies & Tools Needed for Your DIY Thread Holder
Materials:
- 1 length of cove moulding (shaped like a ‘V’)
- 3/16″ wooden dowel
- Wood glue
- Sandpaper (medium grit)
- Paint or stain (optional)
- Wall mounting hardware
Tools:
- Scrap wood pieces (for backing while drilling)
- Measuring tape
- Pencil
- Drill with 3/16″ bit
- Utility knife or saw
- Hammer (optional)
Step-by-Step Guide: How to Make a DIY Thread Rack
Prepare Your Materials
- Measure and cut the cove moulding to your desired length (consider your available wall space and thread collection).
- Use a utility knife or saw to cut the dowel into 2.5″-3″ pieces. Make them 3″ if you want space to store matching bobbins on top of each thread spool.
- Sand the cut ends of each dowel piece until smooth to prevent snagging thread.
Mark & Drill Holes
- On the cove moulding, mark spots for your dowels, spacing them 1.5″-2″ apart depending on your thread spool sizes.
- Place a scrap piece of wood behind the cove moulding for support.
- Carefully drill holes at your marked spots. The natural angle of the cove moulding creates the perfect slant to keep spools secure.
Assemble Your Thread Holder
- Apply a small dab of wood glue inside each drilled hole.
- Insert a dowel piece into each hole, twisting slightly for better adhesion.
- If any dowels resist, gently tap them in place with a hammer.
- Allow the glue to dry completely for several hours or overnight.
Customize & Install
- Sand any rough edges for a professional finish.
- Paint or stain your thread rack if desired (this step is optional but adds a personal touch).
- Once dry, mount your thread holder on the wall at eye level for easy access.
- For added stability, you can attach the rack to a backing board first, then mount the entire unit.

Thread Storage & Organization Tips
Once your DIY thread holder is installed, consider these organization strategies:
- Arrange spools by color for a rainbow effect that’s both practical and visually appealing
- Group threads by type (cotton, polyester, embroidery, etc.)
- Keep frequently used colors in the most accessible positions
- For larger collections, consider making multiple racks arranged vertically
Alternative DIY Thread Holder Ideas
If the dowel-and-moulding approach doesn’t suit your needs, consider these alternatives:
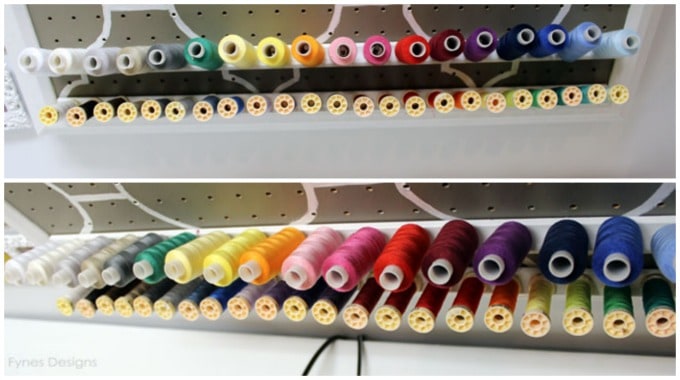
Pegboard Thread Storage
Mount a pegboard on your wall and use pegs as thread holders. This allows for flexible rearrangement as your collection grows.
Wooden Thread Cabinet
For those who prefer enclosed storage to protect threads from dust, a simple wooden cabinet with dowel rods inside can be constructed from inexpensive pine boards.
Upcycled Solutions
Repurpose items like large pickle jars, wine racks, or even old cutlery trays into creative thread storage solutions.
For many more organization ideas check out this Thread Storage Roundup from A Girl And A Glue Gun.
Thread Storage FAQ
The device that holds thread spools is commonly called a thread holder, thread rack, or thread organizer. The pegs holding the spools are called dowels, pins, or thread posts. In industrial settings, they might be called thread stands or thread trees.
Thread holders specifically designed for sewing machines are typically called thread stands or spool pins. The built-in rod on your sewing machine that holds the active thread is called the spool pin, while separate standing units that hold multiple spools for quick thread changes are called thread stands or cone holders.
A thread keeper is a small device used to prevent thread ends from unwinding from the spool when not in use. While thread racks store your entire collection, thread keepers (sometimes called thread clamps or thread huggers) are tiny clips or notches that secure the loose end of thread on each spool.
Make sure your dowels are angled slightly downward. The natural slope of cove moulding creates this angle automatically if installed correctly.
Yes! If drilling isn’t an option, you can pre-drill holes with a hand drill or even use a strong adhesive to attach dowels to a wooden board.
A 3-foot rack with spools spaced 2″ apart will hold approximately 18 spools. Adjust your measurements based on your collection size. The best part about this DIY thread rack is you can make it as short or as long as your collection requires.
Use appropriate wall anchors and screws for your wall type. For lighter racks, like this one, removable command strips can work well.
Your Custom DIY Thread Holder Is Ready!
With just a few hours of work and minimal materials, you’ve created a professional-quality thread storage solution that perfectly fits your sewing room and craft space needs. Not only will this spool rack keep your threads organized and accessible, but it also adds a custom touch to your crafting area that enhances the overall functionality of your sewing room.
The satisfaction of making your own thread holder extends beyond just the cost savings—it’s about creating a personalized spool rack that works perfectly for your unique sewing practice and complements your craft room design. When fellow crafters visit your sewing room and admire your organized thread display, you can proudly say, “I made it myself!”
Have you created your own thread storage solution for your sewing room? What customizations did you add to make your spool rack perfect for your craft room needs? Share your experiences and photos in the comments below!


Another great project! Can you take a wider view photo with the whole thing in it and post it?
Thanks!
Thanks Claudine. I’m getting geared up to reveal my whole craft room where there will be a larger photo. It was hard to get a decent shot without showing off the entire sewing wall. Keep posted, only a week away!
oooh i think i have some quarter round left over from our home reno,i will make the dowels a bit longer to hold a matching bobbin too i think.Thanks for posting!
That is a genius idea! I should have thought of that, my bobbins are floating around a drawer!
don’t glue in the dowel rods then you can adjust for any size spools. Great idea.
I love this idea but is it good to store all your thread out in the open like this? Right now I store my thread lined up in 3″ deep boxes. The boxes are sorted by reg. thread, serger thread, embroidery thread. Sometimes it is a long time before I get to use certain threads and that is why I question leaving them exposed.
In my situation I other than dust there isn’t much that could harm them. I have no windows in my sewing space so no sunlight can get to them. Of course I’m not an expert but I can’t see much harm being done. Thanks for visiting
Hi, Love your idea and plan to use it. Just to clarify for those who might go looking for the molding. The molding pictured is cove molding or it might also be called inside corner molding and is usually a bit flat on the back — like the V had its bottom cut off. Quarter round looks like a quarter of a circle from the end view so it has a corner on the back so it would not lay flush against a surface like the peg board. This comes from a 40+ year sewer/crafter that became her own trim carpenter out of necessity with the purchase of our first home in 1972! Again love your idea – all I have found to buy won’t fit the long skinny area I want to use it in. Just love it!
Thanks for the tips Kathy!
love your idea .I,m doing this for my new sewing room.
THanks, it is so easy! One reader suggested making the posts a bit longer to accommodate a bobbin, I thought that would be a great idea
wow! I need this i my life. my craft supplies and thread are taking over my house at the moment! lol.
Great idea!
Actually no need to use longer pegs for the bobbins. Just put the bobbin first, and the sewing thread after.
Oh my goodness, your a genius!! Why didn’t I think of that!
How did you attach your concave round to the pegboard ?
I just glued then nailed it
I think that by making the dowels long enough, you would be able to store the bobbin above the cone of thread, so that you would always know where the correct bobbin was, and also if you needed to rewind it. By making the dowels even longer, you could easily store two bobbins above each cone. This is what I do…just sayin’