How To Transform a Table with Mod Podge
This post may contain affiliate links. Please read our Disclosure Policy.
I’ve had this little project on the back burner and since I came down with the flu this week, I thought there was no better time than now to share this Mod Podge Table Transformation with you!
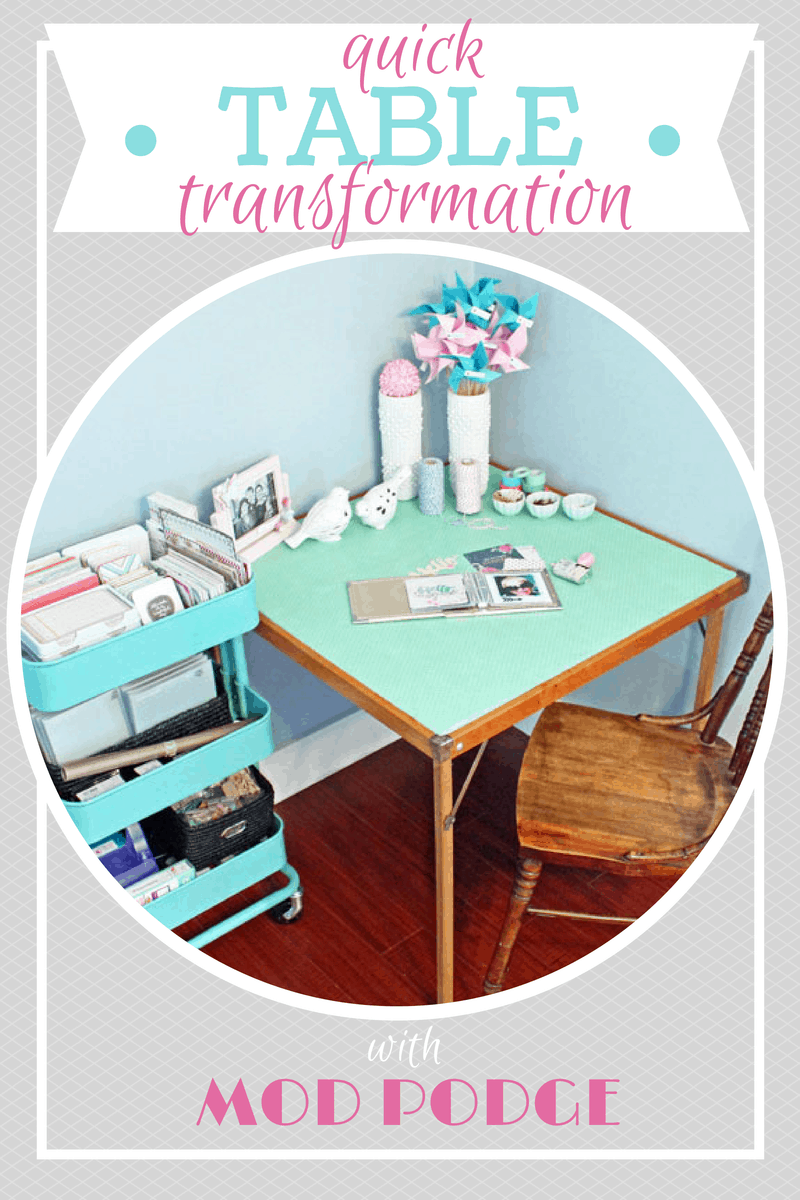 When my SIL picked up this old card table at an auction she knew it would need a little TLC. Since I love to do a little makeover here and there I offered to take a crack at it, we all know Mod Podge creates a durable finish, it was the perfect medium for the table top transformation!
Check out what I started with…
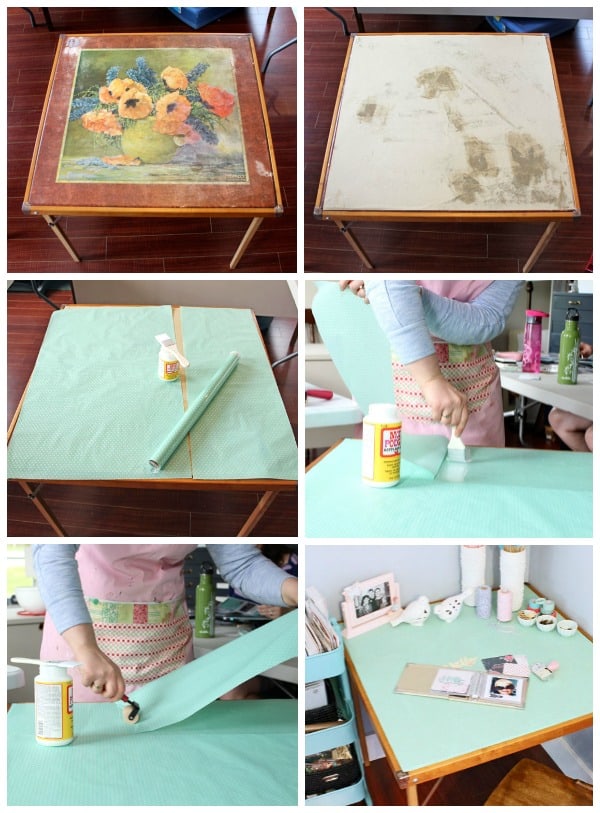
I made a few mistakes, I won’t lie. 1- I did this like super spur of the moment and all I had on hand was tissue paper (this super cute dot tissue from Hazel and Ruby) but using a dull wrapping paper would have been much smarter. That being said I had to start with a plain layer of Kraft wrapping paper, and do two layers of tissue. If you were using a solid paper you could totally skip the other layers.
- Cut the paper the size of the table.
- Using a wide brush, apply a layer of Mod Podge a about 6″ wide.
- Then using a brayer (even a rolling pin would work) roll the paper into the area you Mod Podged.
- Repeat this step until the whole sheet is applied. Trust me doing small areas works best.
- Line up the pattern with the second sheet and follow step 2-3 to completely cover the table.
- Brush Mod Podge evenly over the entire top of the table making sure the edges are sealed down.
- Let dry, and viola you have a beautiful new table!

Doesn’t it make a quaint little table to do a few quick crafts?!
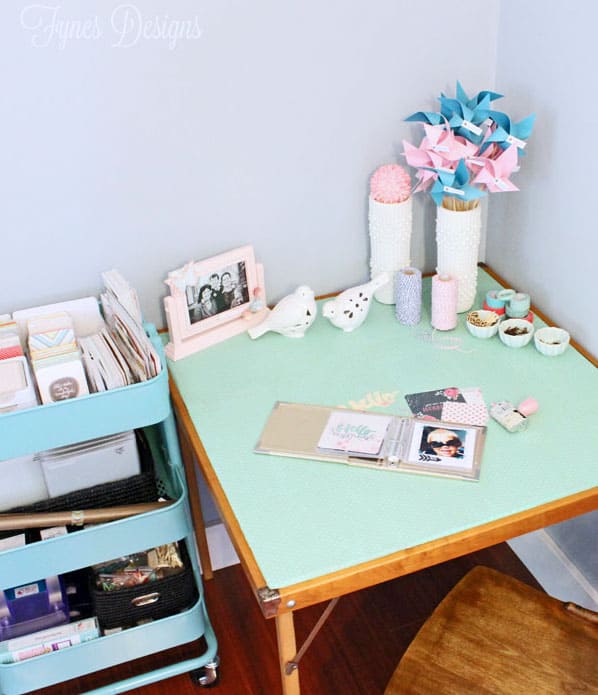
I love how it turned out. Have a closer look at the sweet polkadots
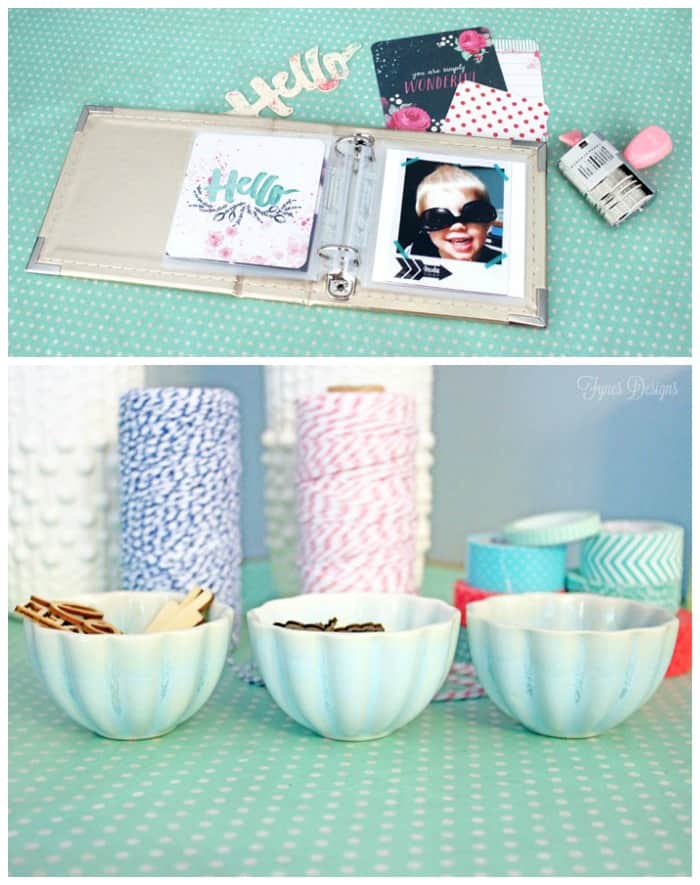
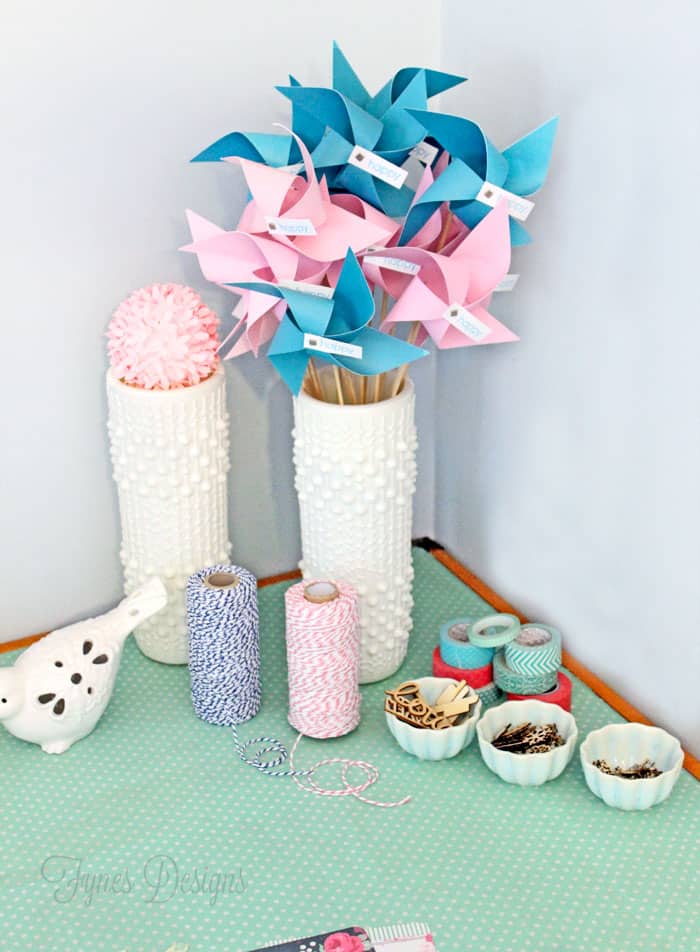
I had to show a close up of these vintage jell-o dishes, aren’t they fun?

I think I want to start Mod Podging everything in sight! You can see lots of other table top transformations with Mod Podge over at Mod Podge Rocks. 
This quick transformation can easily be done in an hour, plus drying time. You can set up your little craft space in an afternoon!
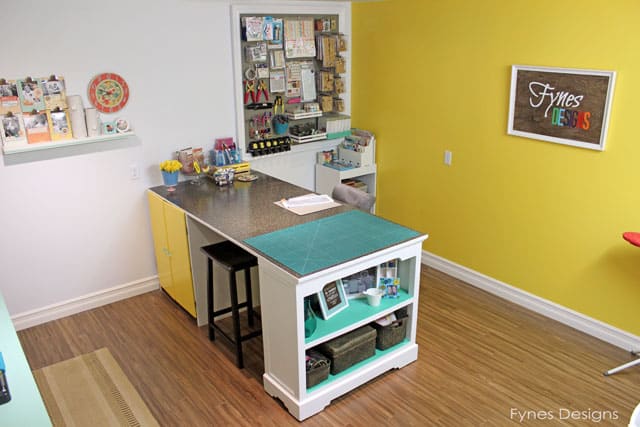
Check out my craft room reveal here
Um, this is amazing! I really love it! Thank you for the mention and I am definitely sharing this!
Thanks for stopping by Amy, I’m glad you like it!
So cute! p.s. Love the cart, lady! 🙂
I’m very partial to this project V. It looks great!
As usual, I LOVE it!!
I love this idea >.< Thank you for sharing! I wonder if I could find an old table anywhere to try this tutorial.
I love it so i wil try make it in my free time. It is so lovely. Thank the post
– twitter search