How To Use The Silhouette Mint
This post may contain affiliate links. Please read our Disclosure Policy.
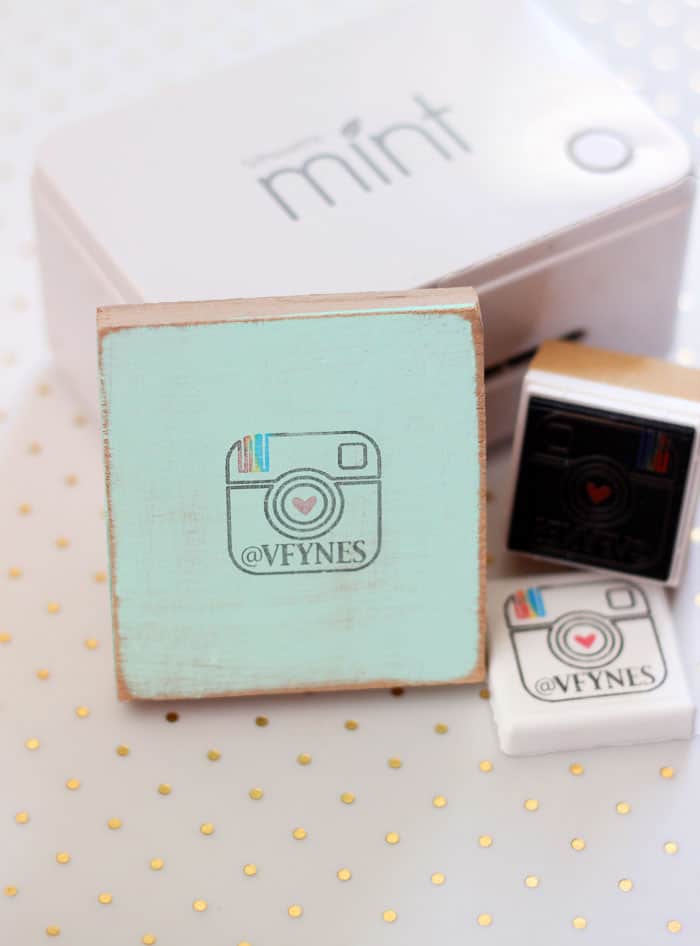
Guys, I just got my hands on the best thing since sliced bread… the Silhouette Mint! This little custom stamp maker has totally rocked my world and blown my mind all in about 10 minutes! Seriously in a very little time, I unboxed the Mint, plugged it in, created a file, and printed a stamp, just that easy! Let me show you how to use the Silhouette Mint and unlock so much creative potential.
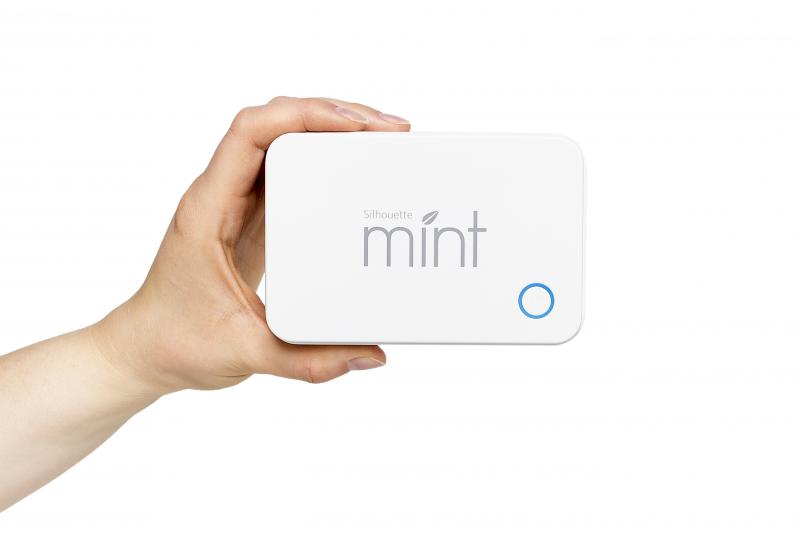
Below is what will come included with the Mint purchase (get it here). The Mint machine is so tiny it hardly takes up any space on your desk, plus you can use multiple color inks on one stamp… now thats cool!
Now until November 24 I’m offering a $10 off discount by using the code FYNES at checkout.

How to use the Silhouette Mint
First you will need to unbox everything, download the software via the CD, or from the Silhouette site (if you have a Mint on the way, you can download Mint Studio now and play with it, then you’re ready to create your own stamps when the machine arrives).
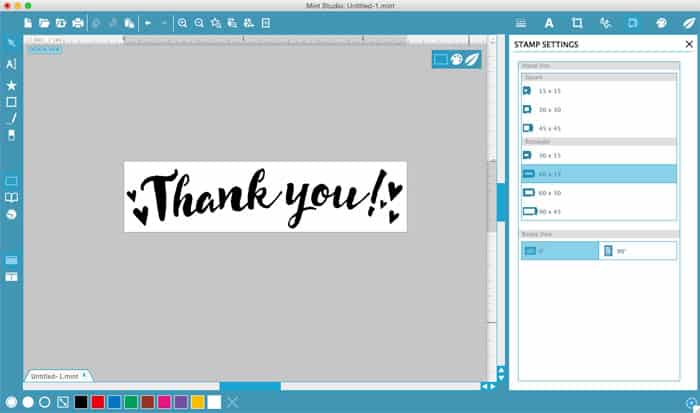
Then open Mint Studio to create your stamp image. The software is fairly basic, you can import your library if you’re already in the Silhouette family (click here to learn how), use images from the Silhouette store (50 designs are included to get you started), as well as any font you have on your computer (dingbat fonts are really great for stamps). Check out this post, and this post for tips on using the software.
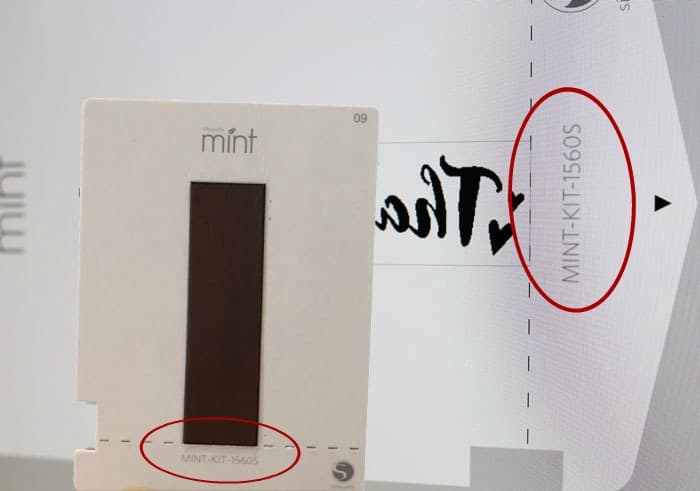
Before printing your stamp, be sure the ID number on the stamp matches what is displayed in the send to Mint window (the icon that looks like a leaf).
Now you’re ready to print, be sure the machine is on (blue light shining), and click Start Mint (sounds crazy but this confused me a bit, unlike the Cameo, you load the material after you click start). Load the stamp card into the back of the machine with the arrow facing up and forward. Let the machine draw the card into the machine, this part will be very quick.
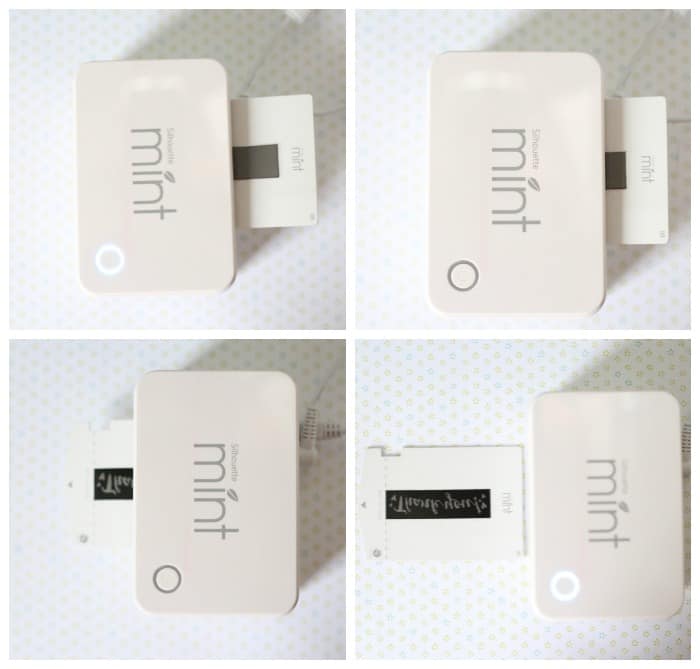
The Mint uses thermal printing to create your custom stamp in only seconds!
How to assemble your Silhouette Mint Stamp
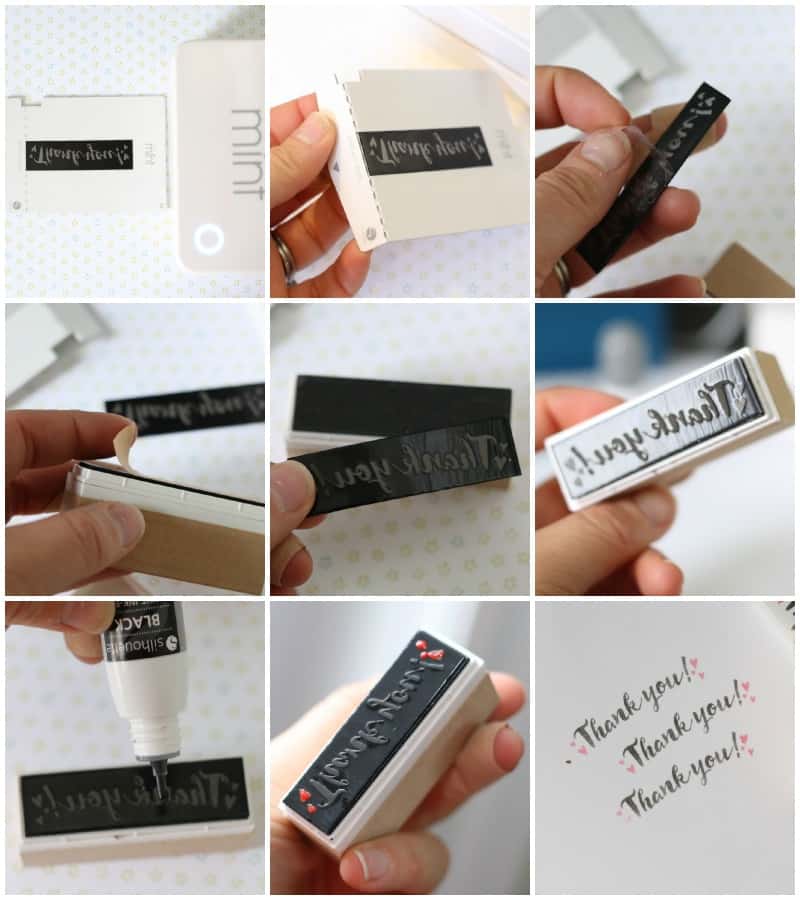
- Break the cardboard plate at the perforated line, remove the black rubber piece, and discard the rest. Peel off the plastic coating if still attached.
- Remove the paper backing from the bed of the stamp base.
- Apply the stamp to the adhesive.
- Using desired Silhouette ink color, drip ink onto the raised parts of your design. It won’t hurt if the ink gets in places it shouldn’t, but makes for a crisper stamp quicker if you don’t get to messy. A q-tip on hand to clean up and spills is a good trick. However, the ink will only absorb onto the printed areas.
- Allow the stamp to sit for approx 10 mins, to absorb the ink.
- Then stamp to your hearts content! You’ll get about 50 stamps before you need to re-ink!
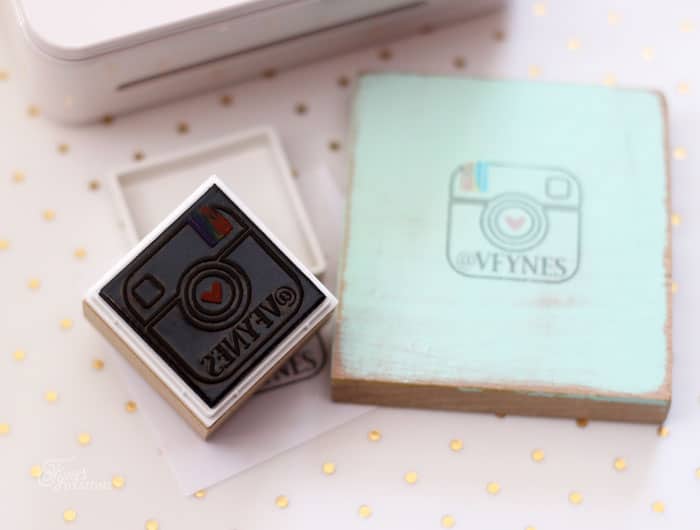
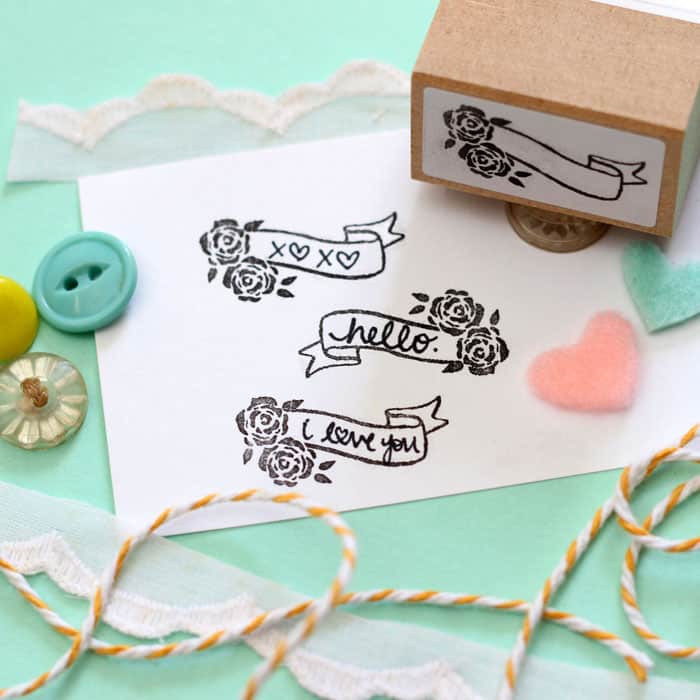
Is your mind totally blown? Mine is every time I make my own custom stamp!

Once I get a better handle on the ins and outs of the Mint Studio software, I’ll love to show you how I created some of these custom stamp designs.
Is your mind buzzing with a million ideas?
I can’t wait to share some stamp files with you!
If you have any tips on how to use the Silhouette Mint be sure to leave them in the comments; I’m learning too!
To get your hands on this just released, amazing stamp making machine, skip on over to the Silhouette website to claim yours, click HERE.

Don’t forget to use promo code FYNES at check out to get $10 off your Silhouette Mint or Curio from now through November 24!
Have you heard about the new Silhouette Curio?
Check it out here

AMAZE! I love this little thing! And that instagram style stamp you made is outrageously adorable. Maybe I’ll put the Mint on my Christmas list 🙂
Wow…how have I not heard of this! It is so cool!!! Thanks so much for sharing this great discovery at Share The Wealth Sunday!
xoxo
Lisa
Awesome I want one !
You’d love it, so much fun!!
This this is so great! My mom is a big stampin up gal and this would save her lots of money by making her own! Saving this to show her! Thank you so much for sharing with us at #throwbackthursday we hope to see you again this week.
Received a Mint for Christmas from my daughter and I am so excited to begin!
Super excited for you!!! Can’t wait for you to get started!
Can you share where you found the instagram graphic for that stamp? I’d love to make on with my info on it to stamp the back of my scroll saw creations? Thanks?