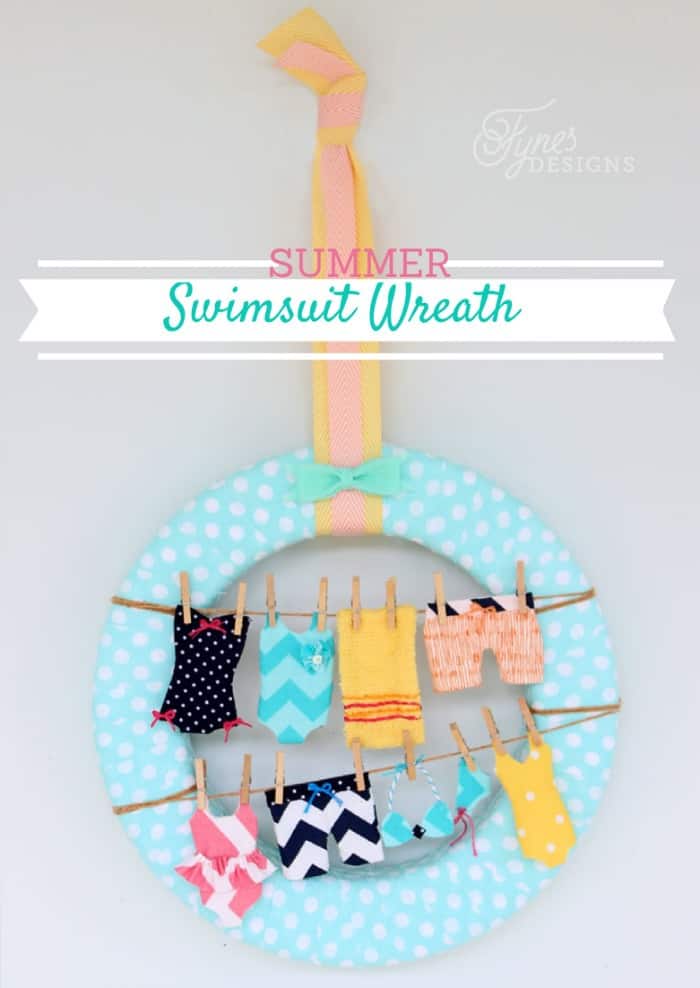
How to Make a Summer Wreath: Swimsuits on the Clothesline
This post may contain affiliate links. Please read our Disclosure Policy.
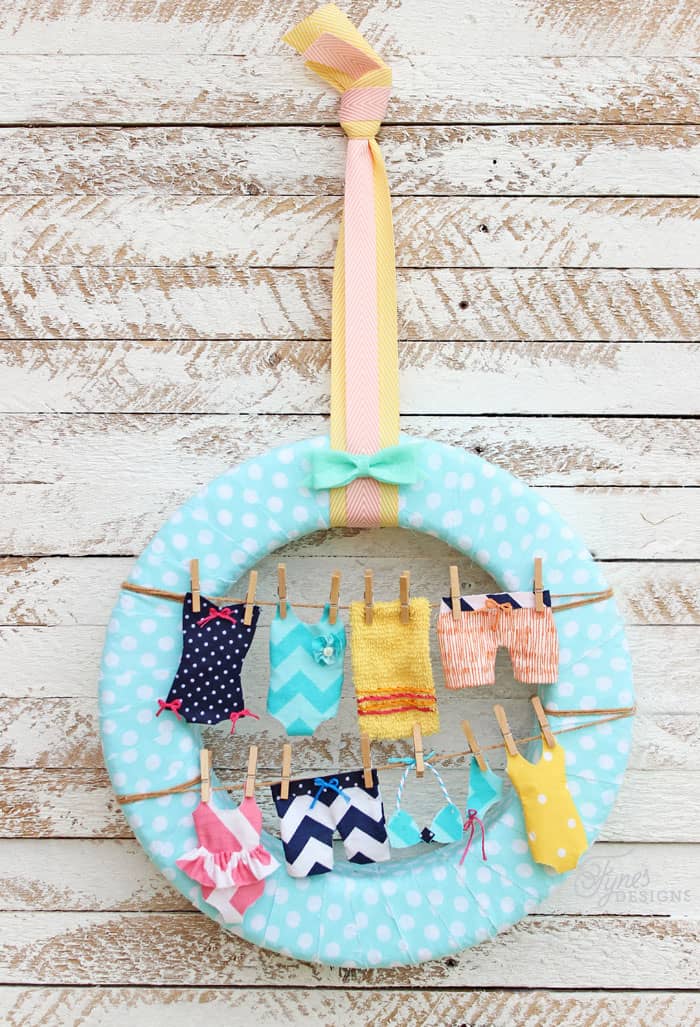
Summertime is all about embracing vibrant colors, sunny days, and a cheerful mood. What better way to set the tone for the season than with a warm welcome right at your front door? If you’ve been wondering how to make a summer wreath that radiates creativity and fun, you’re in the right place. This DIY summer wreath idea features an adorable clothesline of miniature swimsuits, bringing playful charm and seasonal vibes to your home. Dive into this easy project and craft your own DIY summer wreath to celebrate the joys of summer with style!
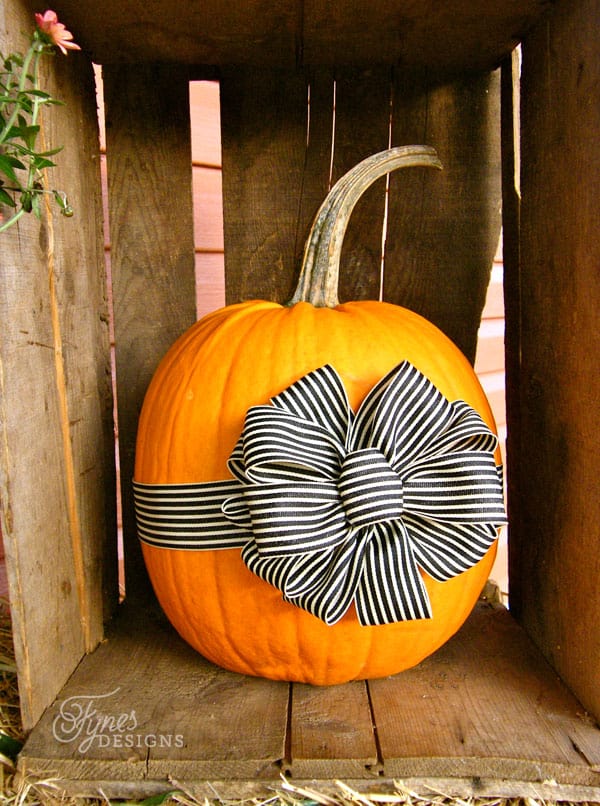
If you love adding seasonal charm to your front door, you won’t want to miss the creative ideas in my wreath collection. From the vibrant whimsy of this DIY heart-shaped wreath to the rustic beauty of my Wooden Hope Easter Wreath Sign and the affordable charm of the Dollar Store Spring Easter Basket Wreath, there’s inspiration for every season.

Materials Needed
- Ribbon or burlap (optional, for hanging or accents)
- Wreath base (grapevine, foam, or wire)
- Miniature swimsuits or fabric to create them
- Twine or small rope (for the clothesline)
- Mini clothespins
- Decorative elements like seashells, flip-flops, beach balls (optional)
- Hot glue gun and glue sticks
- Scissors
Steps to Create the Summer Wreath
Choose A Wreath Form Size And Shape
Start your DIY wreath project by selecting the perfect wreath form size and shape to suit your creative vision. The Craft store offers a variety of options, from traditional round forms to unique shapes like squares, stars, or hearts. Check out this tutorial for a step-by-step guide on making your heart-shaped wreath form. For my wreath base, I used a 12″ wreath form.
Create or Gather Swimsuits
To make the swimsuits for this wreath, you have a few fun and creative options!
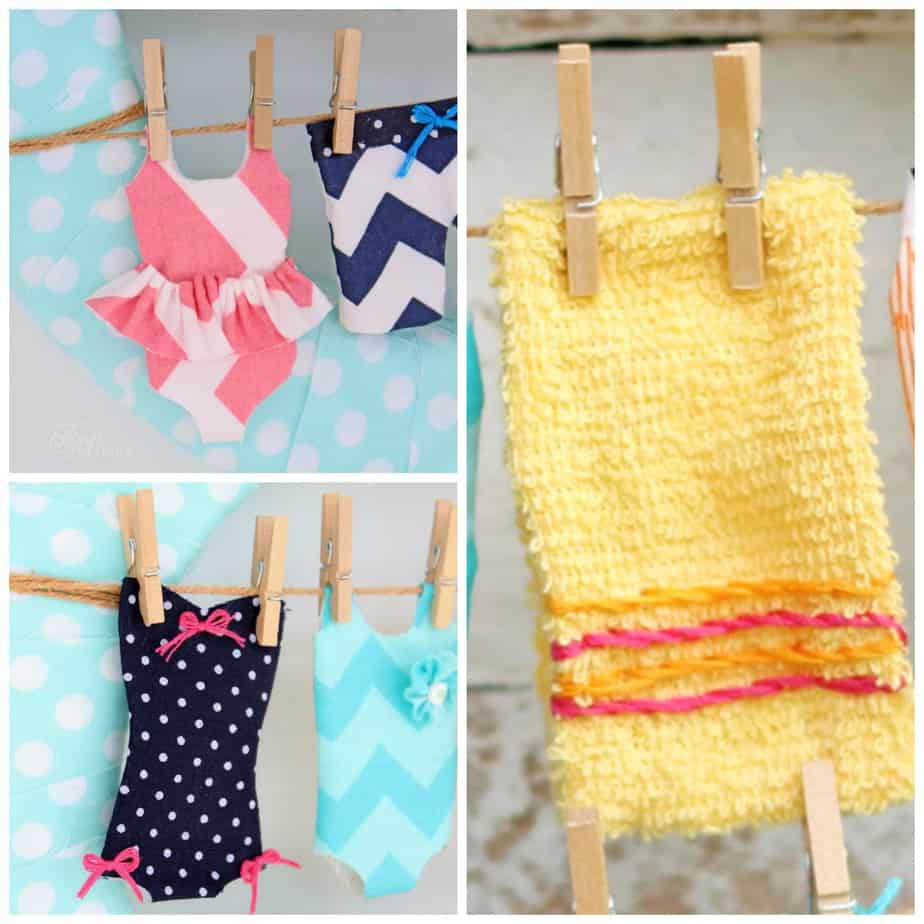
- Craft Your Own: Freehand draw swimsuit and shorts shapes on paper, cut them out as patterns, and use these to craft your swimsuits from colorful fabric. Add unique details like bows, ruffles, or patterns to make them stand out.
- Pre-Made Mini Swimsuits: If sewing isn’t your craft of choice, consider using pre-made doll swimsuits. These adorable options make for a quick and charming addition to your wreath. Check out these doll swimsuits and colorful sets that fit perfectly with this summertime project.

Attach the Clothesline
Secure a piece of twine or burlap ribbon across the center of the wreath using hot glue or by tying it to the frame. This will serve as the clothesline.
Hang the Swimsuits
- Use mini clothespins to hook the swimsuits to the clothesline.
- Ensure they’re evenly spaced for a balanced look. This set in bright colors comes with some fun summer accessories
Add Decorative Accents
- Glue seashells, beach balls, or flip-flop cutouts around the wreath for added summer flair.
- You can also weave in a ribbon or burlap for extra texture.
- For a finishing touch, add a cheerful bow or a colorful ribbon that complements your design.
- Enhance the look further by incorporating blooms, garlands, or floral picks to bring a fresh and vibrant feel.
- These final details will give your wreath a polished and eye-catching look, making it the ultimate centerpiece for your summertime decor.
Display Your Swimsuit Wreath
Hang your finished summer wreath on your front door or another visible spot to welcome the season with charm.
FAQ
Deciding whether to buy or make a wreath depends on your budget and preferences. DIY wreaths can be more affordable, especially if you use natural materials or buy supplies on sale, and they allow for customization. However, they may require an upfront investment in tools and time. Premade wreaths save time and offer professional designs but can be pricier, especially for custom or high-quality options. If you enjoy crafting and want a personalized touch, making a wreath is a cost-effective choice; otherwise, buying one offers convenience.
To make a wreath without a form, you can follow a similar process as this tutorial for a heart-shaped wreath, but keep the shape round instead. Instead of a wreath form, start by creating your own base using gathered twigs or vines. You can find flexible branches outside or at craft stores, which you can twist into a circular shape. Once you have your round base, secure it with floral wire or hot glue to maintain the shape. Then, add your chosen decorations, such as flowers, ribbons, or other embellishments, just as you would with a traditional wreath form. This method gives you a rustic, natural look and is an easy way to customize your wreath.
Crafting your own summer wreath is an easy way to infuse your home with the vibrant spirit of the season. This quick tutorial will guide you on how to make a summer wreath, whether you opt for making your own swimsuits or use pre-made ones. With the right color combination and a little creativity, you’ll create a charming and unique decoration that will give your front door a warm welcome. Embrace the fun of this DIY project and enjoy the cheerful vibes it brings to your space. Happy crafting and happy summer!
Check out Lolly Jane Summer Bread Wreath, and Life After Laundry


So cute!
Gorgeous and “sew” sweet!
Sooooooo adorable! And such a brilliantly creative idea too!
Oh my goodness, this is the cutest summer wreath! I just love it. Sharing, for sure!
Thanks Sharon, I had a fun time making it!
What a cute idea! Wouldn’t it be great at a beach house?
Super cute! Love how this turned out!
OMG, this is the cutest thing I’ve seen in a very long time!! The detail is unbelievable. This little clothes line would look adorable in a bathroom or little girls room too.
Great idea Melissa, the whole time I was making it my little girl was asking if it could be for her!
THAT is absolutely precious! Pinned! LOVE it!
Thanks Michele! I had fun making it!
THIS IS SO CUTE! I TOTALLY HAVE TO TRY IT!!!!! <3
THanks Julia, I appreciate the <3
LOVE this! Those tiny swimsuits are ADORABLE!
That is one adorable wreath!!!
Stopping by from Work it Wednesday. I love this idea! Adorable and very talented with that needle and thread 🙂 I would probably use Barbie & Ken swimsuits, LOL
This is so adorable! Love the tiny swimsuits!
This is so cute, love it.
Adorable! I especially love the swimsuit with the bows, and the bikini.
I absolutely adore this! I have done a similar wreath with paper baby clothes for a shower, but this is even cuter.
This might be the cutest summer wreath I have ever seen!
Super cute… I am featuring you tomorrow. Thank you so much for linking up with us!
Thanks for stopping by Desiree!
Virginia – this is ADORABLE. I love it! You are the most patient crafty woman to make all of those little swimsuits and towels. Pinned!
Thanks Tara, what else is a girl to do with 4 days of no power!
I love it so unique and different thanks for sharing visiting from bewitchin project block party have a great week
Oh my word…..this is just the *cutest* little thing! I love it! I have no idea how to sew, but maybe I could even do something like this with a little hand sewing. Thanks so much for sharing! Now you’ve got the wheels a-spinnin’ in my head. 🙂
I made this with hand sewing! Of course machine would be quicker, but the power was out! Give it a try!!
This wreath is so clever and so perfect for summer! I love it, and I’m pinning it!
Navy Wifey Peters @ The Submarine Sunday Link Party!
This is adorable and I am going to have to make this! Pinning it until the day I can. Thank you
This is so stinkin cute!!!! Thanks for sharing at Tips and Tricks!
that is the cutest thing EVER! i saw your feature at lolly jane, and i just had to come over and see this.
b
So happy you clicked over!! (:
You are too cute, V. This wreath is just darling!
Oh my gosh – – I have no words for how absolutely adorable this is. Scheduling a share on my FB this week and off to pin!
Thanks for the love Lauren!
This is adorable!! How summery! Thanks SO much for coming to share it at Motivational Monday on my blog, Virginia 🙂 Have a great Tuesday!
SO CUTE! I’m featuring you at the Do Tell Tuesdsay party today!
So flipping adorable! I love it. Thank you for liking it up to The Creative Collection Link Party! Have a great week.
Thanks, love your party… and your blog!
This wreath is seriously SO stinkin adorable! And the colors are just stunning and work so well with one another–you’re a Pro!
Thanks for linking up at the Bewitchin Projects party this week! I can’t wait to see what you link up again next week over at OurMiniFamily.com!
Cheers,
~Cathy Mini~
OurMiniFamily.com
Thanks for stopping by Cathy! Great party
This is adorable! Where did you get the tiny swimsuits? I don’ t know how to sew 🙁 I wonder if Barbie outfits would work… Thanks so much for sharing!! You did such an awesome job!
Barbie outfits would totally work! You could even just cut out the swimsuit fronts from fabric with interfacing, that would work too! Thanks for visiting!
Wow wow! I love this, it is sooo cute! I love the little tiny swimsuits. Pinned!
thanks for stopping by Kristina!
Adorable, and I have a couple of quick questions. Did you actually make these from spandex, and how did you finish the leg holes, arm holes, etc? Did you use a fabric glue to turn them under, or did you stitch them?
these little suits are actually made from cotton fabric and the arm/ leg holes aren’t finished. Since once they are attached to the wreath they won’t be touched. If you wanted to iron on a piece of interfacing before cutting them out, it would keep from fraying also.
Ok, this is seriously too cute! You know it’s summer when wet bathing suits are hanging to dry 🙂
I stopped by from Inspiration Monday.
HI this is such a darling idea, I LOVE this and am sharing on Facebook later today. Thanks for sharing at our Something to Talk About Link Party n have a great week, Lisa at Concord Cottage
How adorable!! I love your little swimsuits! This would go great on our deck when we put in our pool next year! Thanks for sharing!
Love all your summer wreaths but this swimsuit clothesline is so stink’n cute! I’m featuring it this weekend at the DIY Sunday Showcase Party.
How cute it this!!! Thank you for sharing at Share it One More Time… Tammy
This is super adorable Virginia! I love it. I am impressed you made each of the little swimsuits. They turned out so cute!
HA! I love this wreath. What a fun idea. I bet you had a blast with all those mini swimsuits. Very clever. Thanks for sharing at the #HomeMattersParty – we’re looking forward to what you have to share next week. 🙂
~Lorelai
Life With Lorelai
Your wreaths are so cute! I love the little swimsuits! I wonder if I could do this with scrapbooking paper too?! I may have to give it a try. I love your Welcome Aboard wreath too!
Hi, Virginia! Just wanted to let you know that we loved this post SO MUCH from last week’s #HomeMattersParty that we featured it this week! Check it out, if you like! http://theroadtodomestication.com/2015/06/12/home-matters-linky-party-41/ Happy Friday!
This is so perfect for a summer cape house! How adorable, maybe I’ll make one for my in laws.
This is absolutely darling! Thanks for sharing on Sunday FUNday! Sharing on my FB page! Hope to see you at this weekend’s party!
LOVE this!!! Did you make the clothing out of paper or fabric? What type of fabric?
I made them out of fabric, just regular printed cotton, you can press interfacing on the back to avoid fraying
Hi, can I ask where u get those tiny/thin wooden clips? are the 25mm long and how thin are they?
They were just from our local dollar store. They are very petite