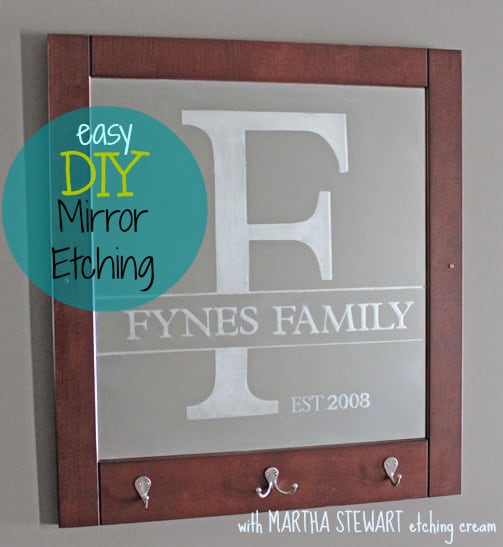
Easy Mirror Etching with Martha Stewart Crafts
This post may contain affiliate links. Please read our Disclosure Policy.
Holler if you love creating fabulous looking projects that look professional?? Hands up over here! Well, the products from the Martha Stewart glass painting program help you create etched glass projects that truly look like you paid a lot for them.
I recently got my hands on some Martha Stewart glass etching cream. This was my first crack at glass and mirror etching and let me tell you I feel pretty confidant in my abilities after only a few small projects! It is so easy to use, and if you aren’t great at coming up with your own design ideas Martha also has loads of silk screens, and adhesive stencils for making unique projects. Today I’ve chosen a thrift shop item to try the mirror etching on.

Mirror Etching Tutorial:
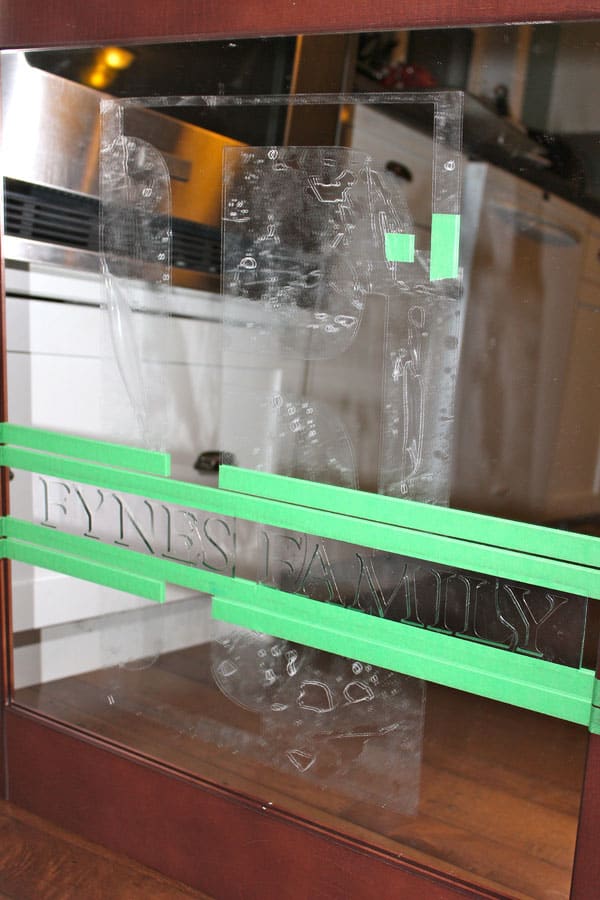
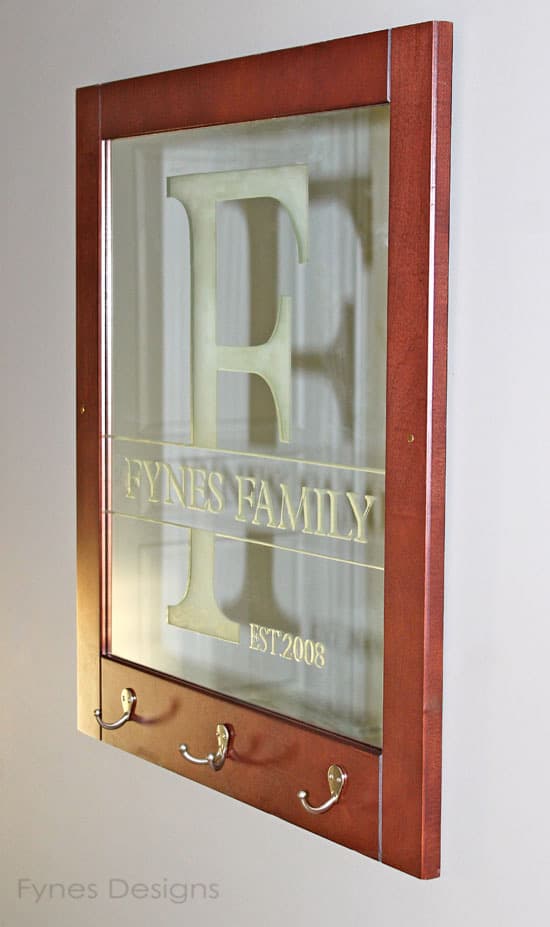
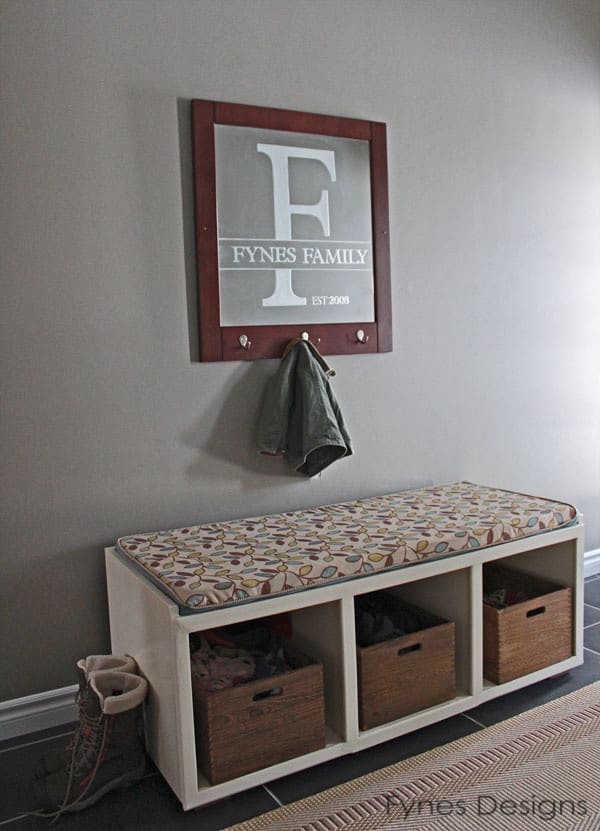
I wanted to create a unique mirror for my entryway, I cut a mask using my die cut machine and vinyl (I forgot I’d be taking pictures of it and used clear vinyl (oops)). I rubbed the vinyl down using the edge of a credit card to ensure that the etching cream would not seep under (a few places I secured with painters tape).
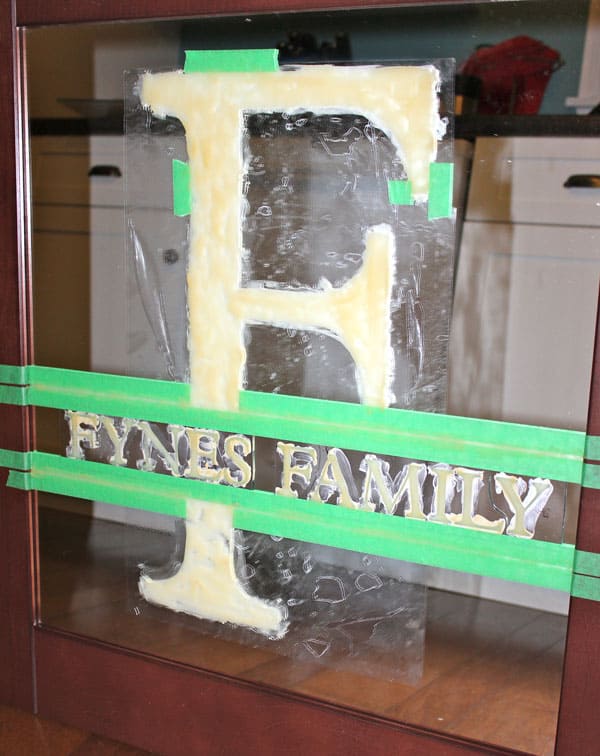
Using the Martha Stewart Etching Cream, a brush (a small one is included) and wearing my protective gloves, I spread a generous coat of the cream on the inside of my mask.
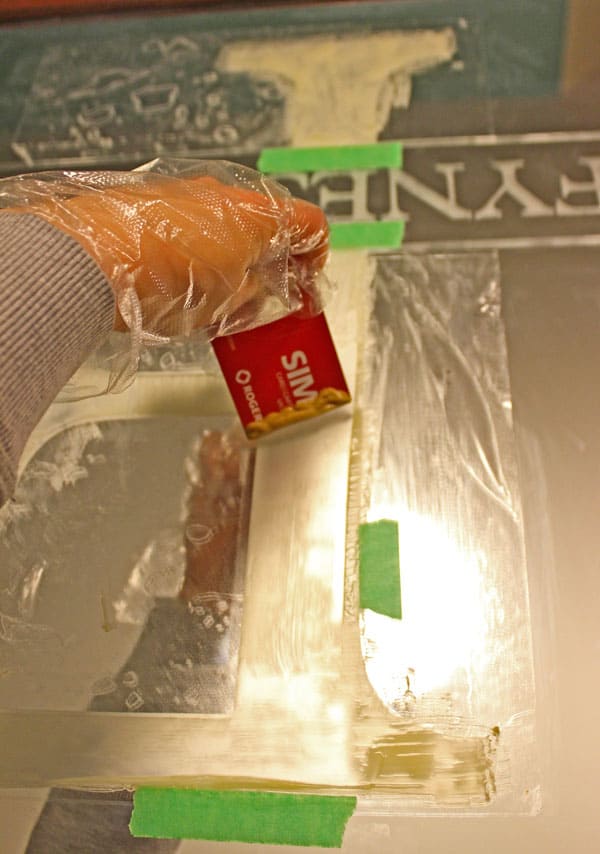
After 30 minutes (the pkg. suggests 15, but this project was large so it took a bit longer) I used the straight edge of a credit card to scrape away the excess etching cream. This step is only necessary on large projects as you need to be careful not to get the creme on areas you don’t want etched.
I then washed the mirror with dish soap. Remove the vinyl mask and stand back in amazement of your totally awesome accomplishment! I also added the hooks to the bottom (which was actually the top) so I could hang a few kiddo things on there.
Mirror Etching Tips:
- Use a brush relative in size to your project. A foam brush is a good idea for large areas, and will cause less streaking in your etching.
- Use a credit card to smooth down your mask.
- Remove creme from large projects with the edge of a credit card.
- Wear gloves for the entire project (yes that includes washing).
- Be very careful to not get etching cream in unwanted areas, it does start to etch immediately.
- If you get any spots that are hard white rather than frosty, toilet bowl cleaner will fix them.
Looking for more ideas to spruce up the glass in your home? Check out these links:
Martha Stewart Crafts Board on Pinterest
I wrote this mirror etching tips post as part of a sponsored campaign with Plaid Enterprises and The Blueprint Social. The opinions in this post are my own.
Thanks for joining me for this idea to personalize your crafts at home!
This looks AWESOME!
Very cool!
Nice job. You’re so creative.
Absolutely love it….want one of my own!
I love this. I have a mirror I want to hang in my foyer and something like this would really spruce it up. Thank you.
Love this! Such a unique way to use the medium.
I simply could not depart your website before suggesting that I actually enjoyed the usual info a person provide in your visitors? Is gonna be back frequently in order to check up on new posts
Beautiful project! Thank you for the wonderful tutorial! Did you use painter’s tape alone to mask off the upper part of the straight line above your family name, or is it holding in place another piece of clear vinyl?
Thanks! I used just painters tape to create the lines above and below the name. Good luck!
Thanks so much! Can’t wait to experiment and design my own project! I will now be on the lookout for cheap or outcast mirrors. 🙂
Lovely project! Can you please give suggestions for how to make a large letter ‘stencil’ without a die cut machine?
Perhaps you could print the letters from a word doc and cut them out with a craft knife
How large of a letter did you cut? Love to do this for an engagement gift or wedding gift.
My letter was probably 24″ but it really depends on the size of your mirror