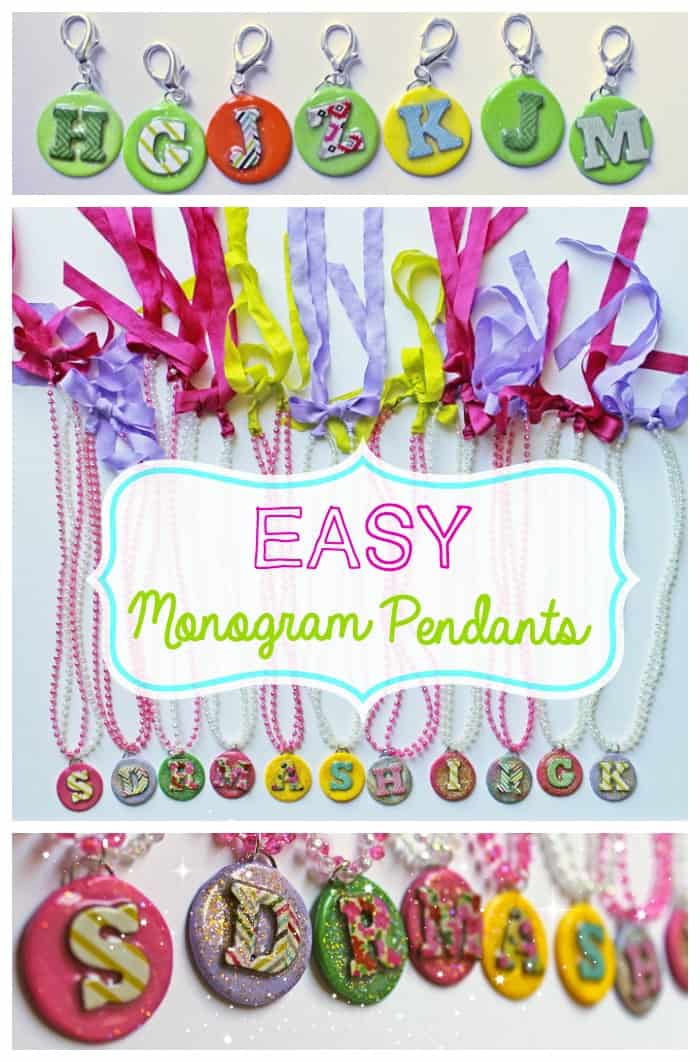
Kids DIY Clay Initial Jewelry
This post may contain affiliate links. Please read our Disclosure Policy.
Have you ever made Clay Jewelry?
Its super fun and super easy to do!
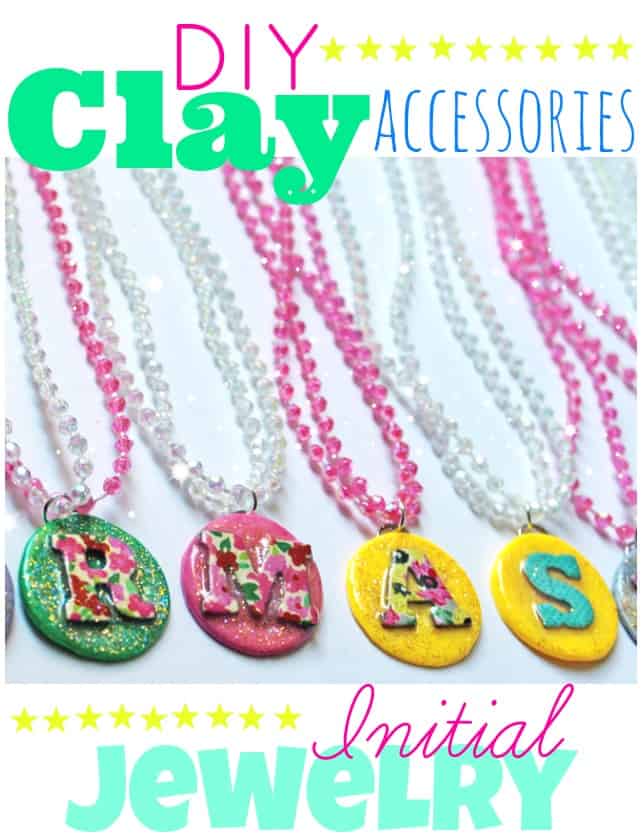
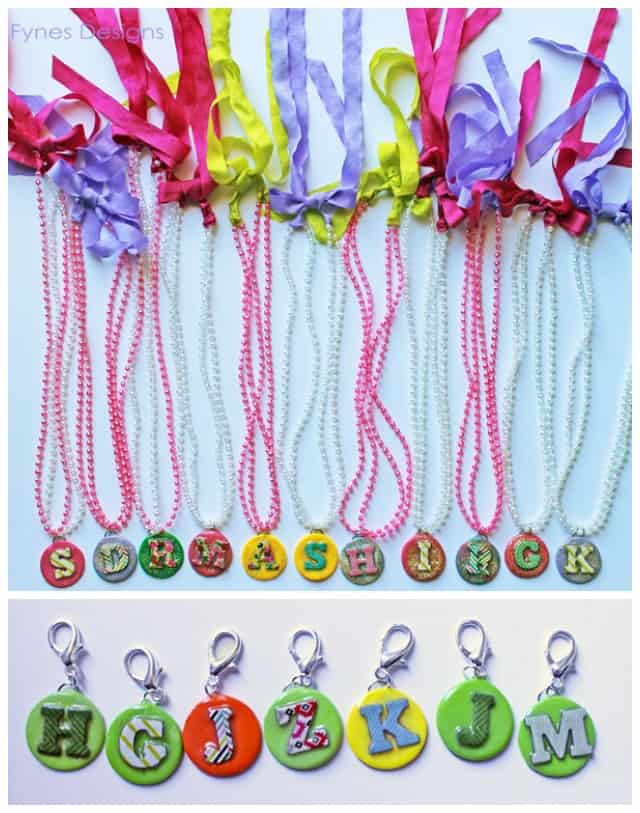
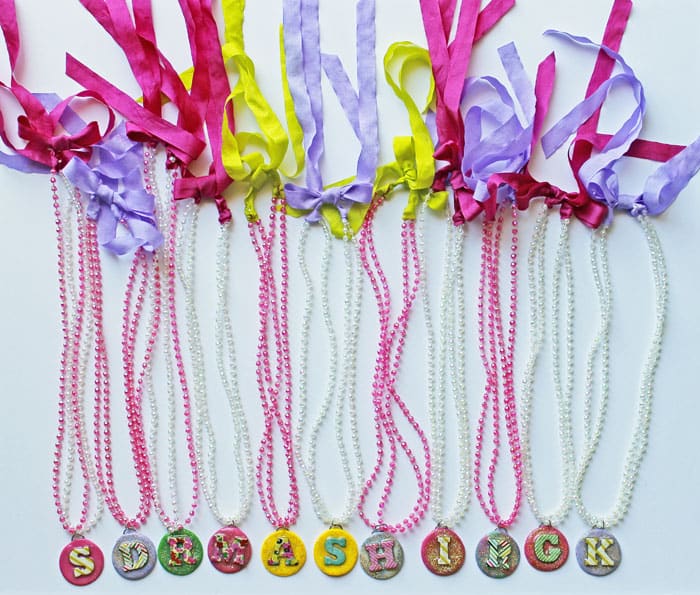
Last week was my daughters 4th birthday party and she needed a chic treat to share with her friends. A bit of brainstorming and viola- a little piece of personalized clay jewellery for each child! The girls got necklaces, and the boys a little keychain (or zipper pull).
Here is what you’ll need to create these clay accessories-

Polymer Clay, Letters (I used American Crafts chipboard thickers), small round cookie cutter, rolling pin, parchment or wax paper, Mod Podge dimensional magic, scissors, jump rings, jewellery accessories (I used May Arts String Beads, 1/2″wrinkled silk, and lobster claw clips), cookie sheet.

How To Make Clay Initial Jewelry:
1. Sandwich a hunk of clay between two sheets of parchment. Use the rolling pin and squash it out.
2. Use the cookie cutter to cut out the pendant shape. I used the inside of a doughnut cutter.
3. Press a jump ring into the edge of the pendant, and cover with a small strip of clay to secure. Bake in 275 deg oven for 15 mins. (follow pkg. directions).
4. Apply an initial of choice. Use Mod Podge to seal the letter. Allow to dry.
5. Attach string breads, key ring etc.

The initial jewelry made the perfect party favour.
They would also be a great party craft for older children.

The children loved these clay monogram pendants and keychains, a big party hit!
Be sure to check out all the details of the party
Read all about it –>4th birthday party

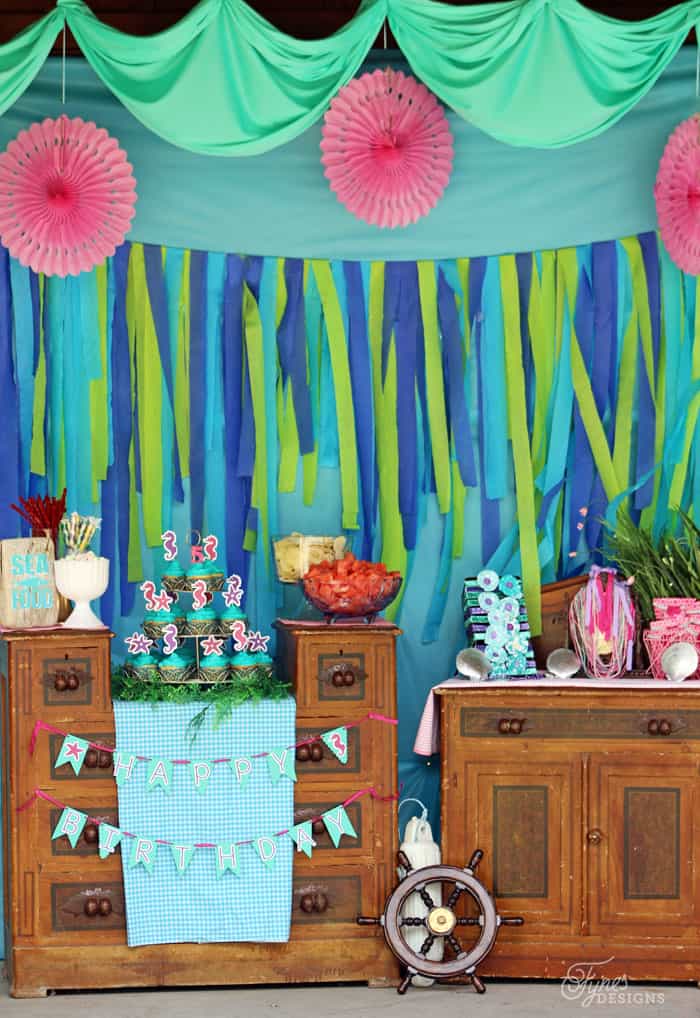
Check out her Mermaid party too
Read all about it here–> Mermaid party
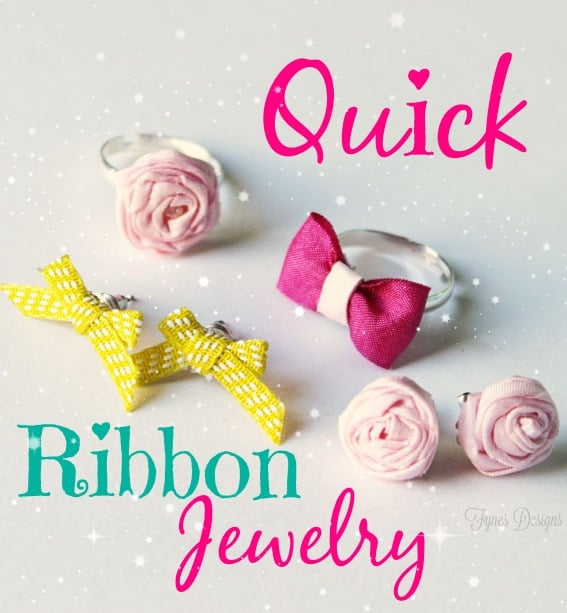
Check out this cute ribbon jewelry
Read all about it here –> quick ribbon jewelry
Follow along on Facebook to keep up to date on all Fynes Designs crafty adventures!

Another fantastic idea by Virginia!
Thanks Claudine- I always love your comments, thanks for being a dedicated reader!
Hi Virginia! I love this idea. Such a fun and easy craft for young kids. I have 2 boys, but they could totally make the keychains. Thank you so much for linking up to Moonlight and Mason Jars. I’ve chosen you as my featured link for the week. If you would be so kind to come by and pick up our “Featured” button, or link back to our blog party, we would really appreciate it. Thanks again for your support!
I love this. But I have a question. What was the dimensional magic for? I thought maybe I missed a step, but I re read it and I’m just a little confused. Thank you! Can’t wait to make some.
The dimensional magic isn’t a neccessary step, but I love that it gives the piece a finished look, like it would if you bought it in a store.
Do You have a tutoríal on the necklace? The top para is giving me a hard time. Did you use two stings of ribbon ? How did You atached the ribbon to the string of pearls? Thank you
I’m sorry I don’t have a tutorial. I attached the string beads into a loop. Then I folded a long piece of silk ribbon in half and looped it over the fold of the beads, putting the ends through the folded half. This will disguise the joint of the folded string beads.
Love this project! Please elaborate how the washed silk is attached to the beads. Thank you so much 🙂
Hi Amy, the silk is attached simply by using a long strand of ribbon, fold in half and tuck the loose ends in through the loop. This will cover the end where you attached the string beads together. i hope this helps!
how did you cut the chipboard..? TIA
Bets
The chipboard letters are actually stickers from American Crafts “thickers” they are called, I loved that they were all different patterns!