Easy NO Measure Chevron Pattern
Have you got on the popular chevron pattern wagon? I’m a late bloomer with chevron, but I just had to include some in my newest projects. I read loads of tutorials for painting the pattern on all sorts of stuff- walls, dressers, bookcases etc. The one thing they all had in common was to measure out the pattern. Now, who really likes to measure? Not me! So I came up with this lazy version. Behold, my Super Duper Easy No Measure Chevron. I must apologize for the no so great photos, I was working in the basement and there is no light.
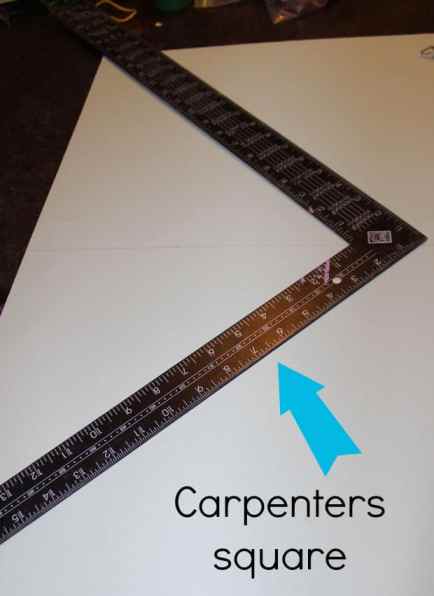
You will need: Your project, a pencil, carpenters square, and painters tape.
Follow the directions 1-5 on photo. I know it looks a little overwhelming, but really it is very simple, I just jammed it all on one photo.
Line taped edge with the centreline. Trace line on either side of the square, bottom only on the skinny side. Move square down, lining it up with your previous marks and the centreline, trace lines on bottom of the square.
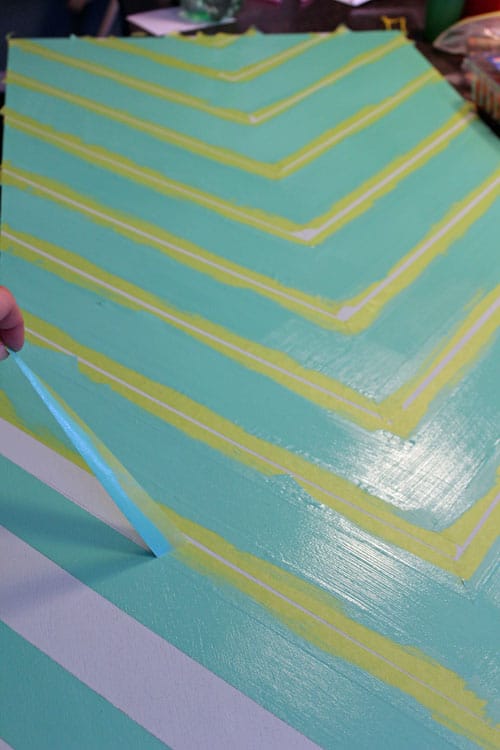
Use painters tape to tape off lines. Paint. This is where my mess up came into play. I should have painted my board with one of my two colors, so when I removed the tape I was finished. But I didn’t so I had to tape off the other section too.
If you are using your background color as you finished product, you will need to erase your centreline at this point. If not, wait for 1st color to dry, tape off lines, and paint second color.
Viola, EASY no measure chevron pattern! I can’t wait to show you what this board is for, something for my new craft room…eeek! Have you created a chevron pattern? Any tips you discovered while painting? Be sure to leave your thoughts below.
-Virginia


If it’s no measure then why does the third photo say “2. Measure this distance”?? Ummmmmm….. Bwahahahahahaha!!!
that photo 1-5 is so confusing!! help!
It is quite jammed in there! Draw a center line on your project, measure how fat the little side of the square is. Place the tape on the ruler so you have a new centre, rather than lining it up with the actual points, which would make one side crooked. Once you’ve traced the lines move the square down and repeat. Hope this clears it up!
I really love this! It seems easy and I would love to try it out!